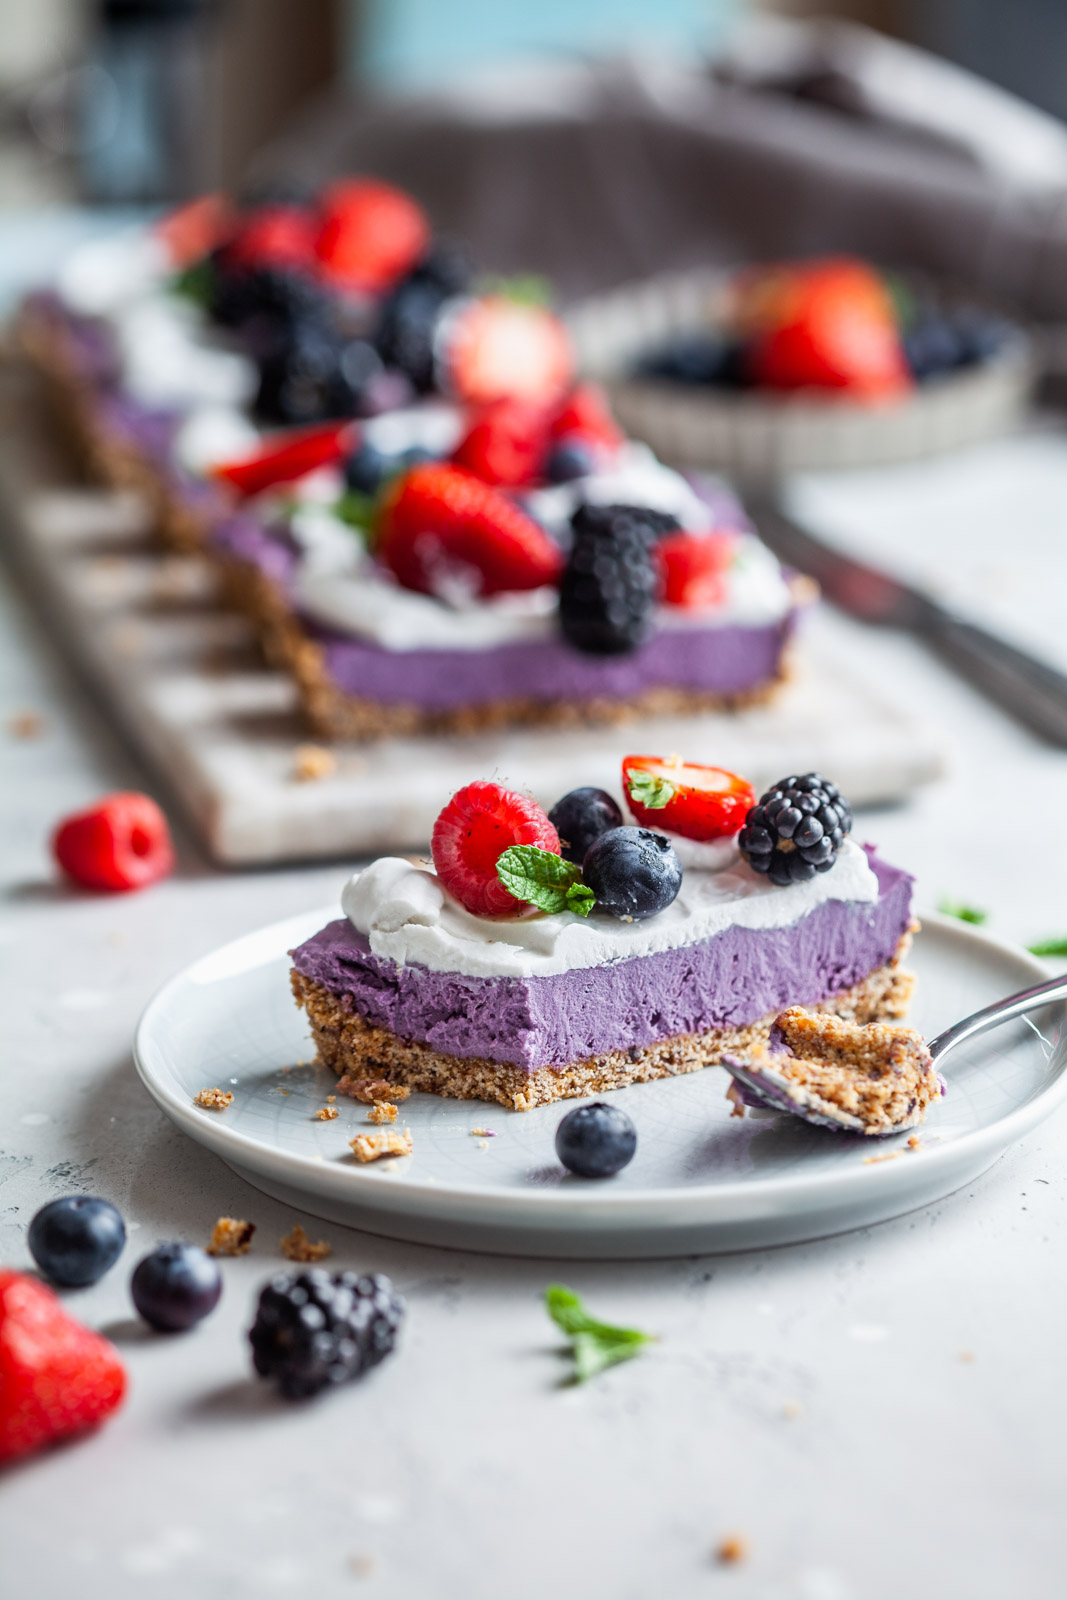
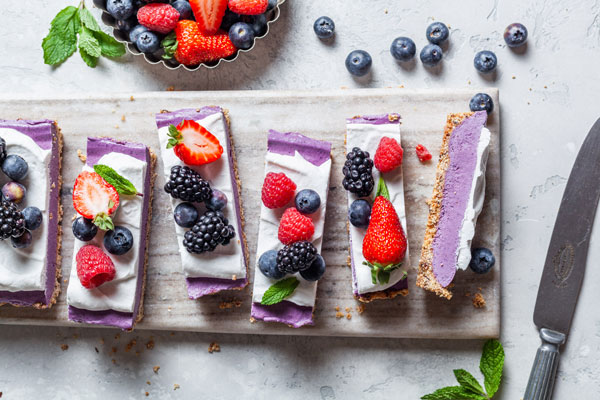
No Bake Vegan Berry Cheesecake
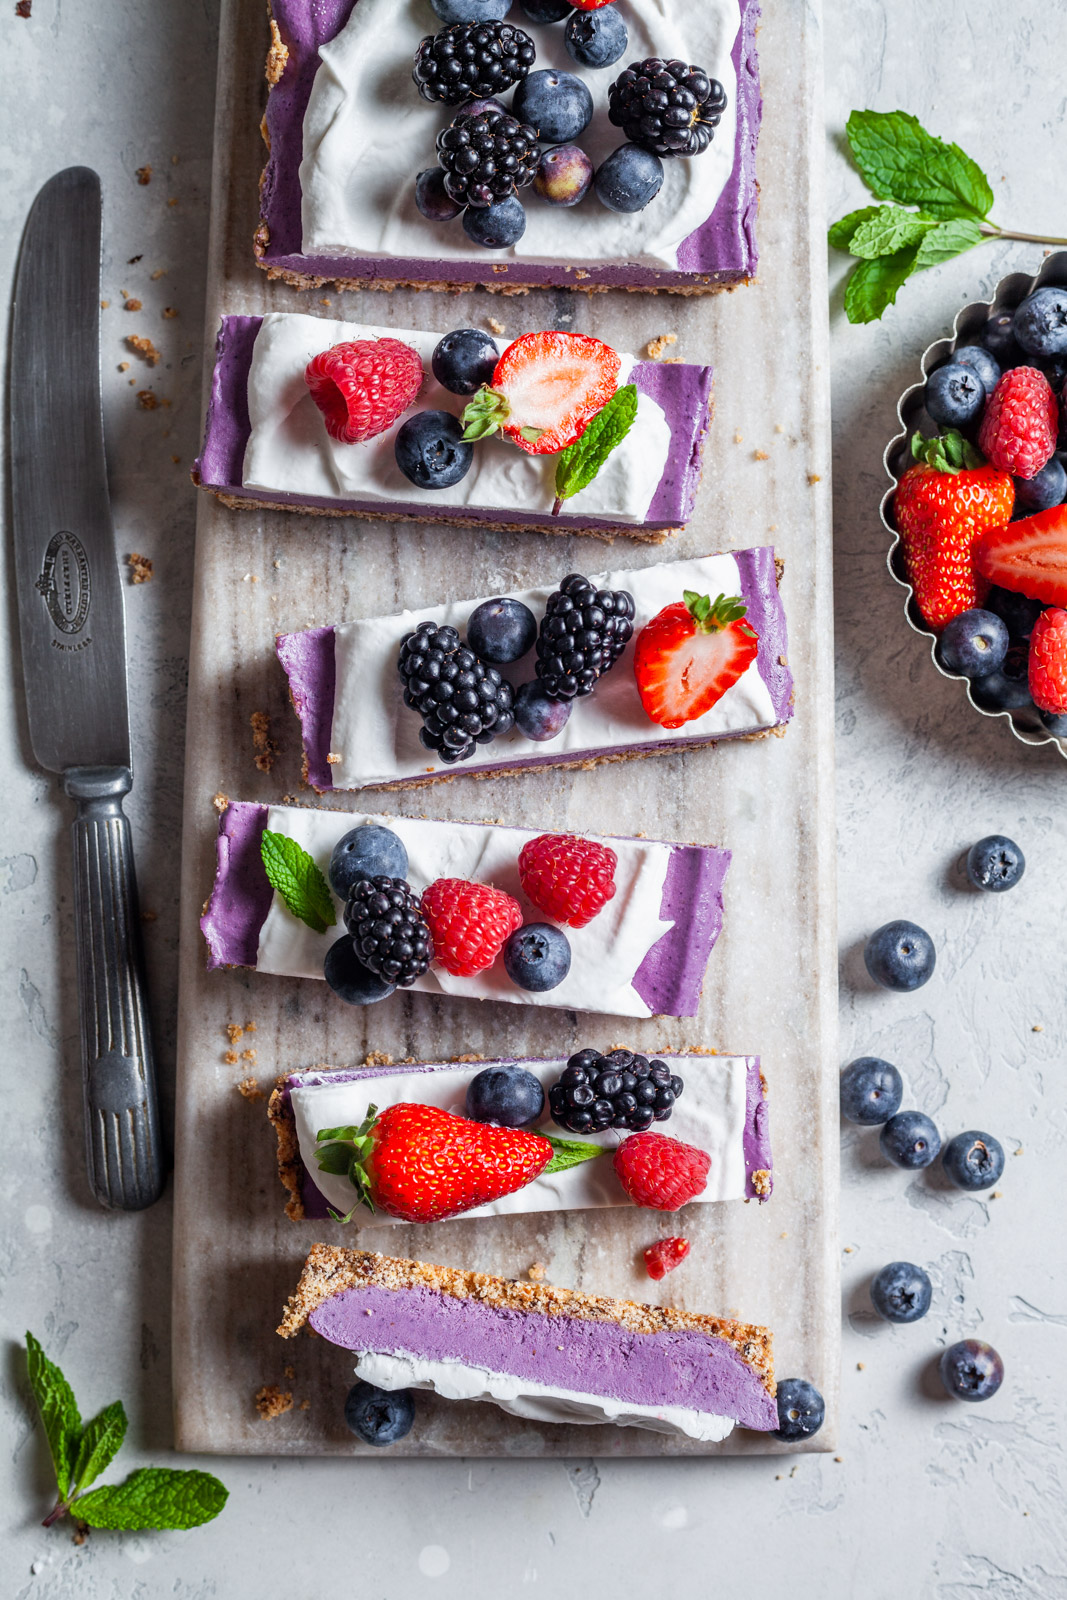
No bake vegan and gluten free berry cheesecake with a crunchy cereal date crust made in partnership with GoGo Quinoa and their Organic Quinoa and Raw Cane Sugar Crunchies. Made with healthy fats, naturally sweetened and so very easy to make!
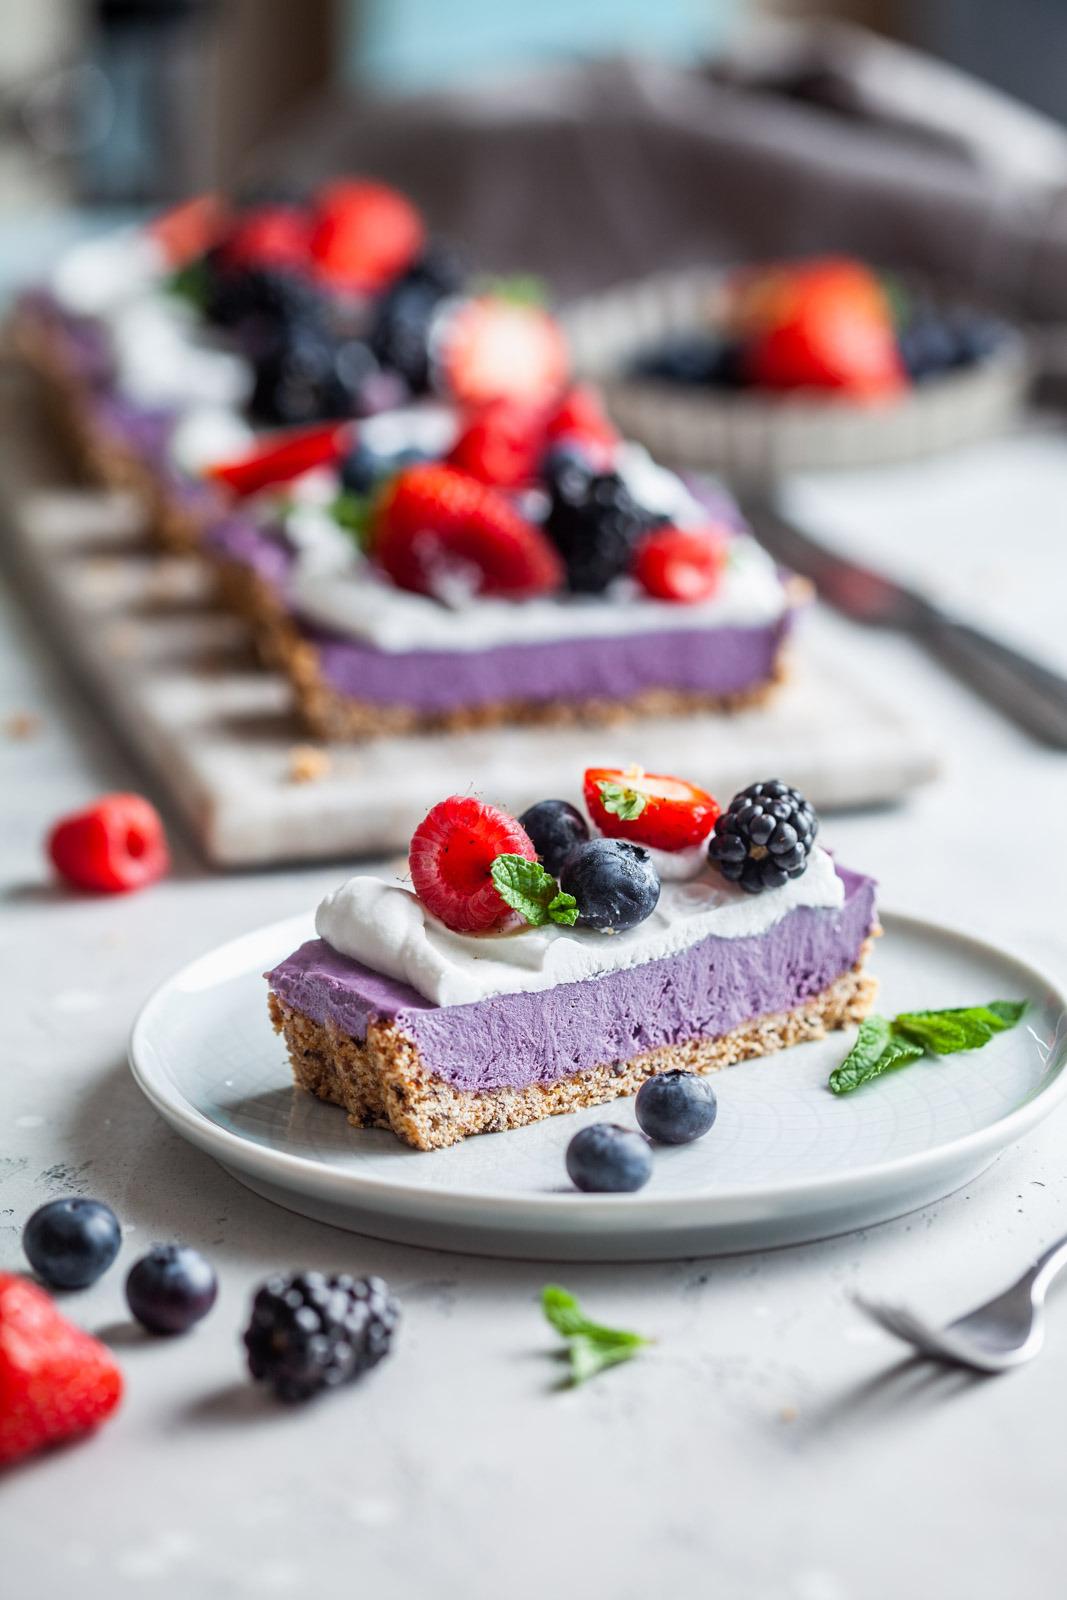
It’s the end of May and I’m super disappointed in the weather. I’m trying my best to stay positive and trying to eat like it’s spring though it feels like fall and all I feel like eating is soup and stew. We had some nice days and tomorrow is suppose to beautiful so bring on all the icy treats and smoothies. This is a feel good icy treat that you will love - whether you are vegan or not. It’s rich and creamy and loaded with berries. The base is crispy and stays together nicely even though it’s not baked. It’s made of Crunchies - puffed crunchy and crispy cereal are a perfect wheat substitute for a breakfast cereal or an afternoon snack. They are great with milk or eaten straight from the bag. They made such a great crust, with the perfect texture and sweetness for this cheesecake.
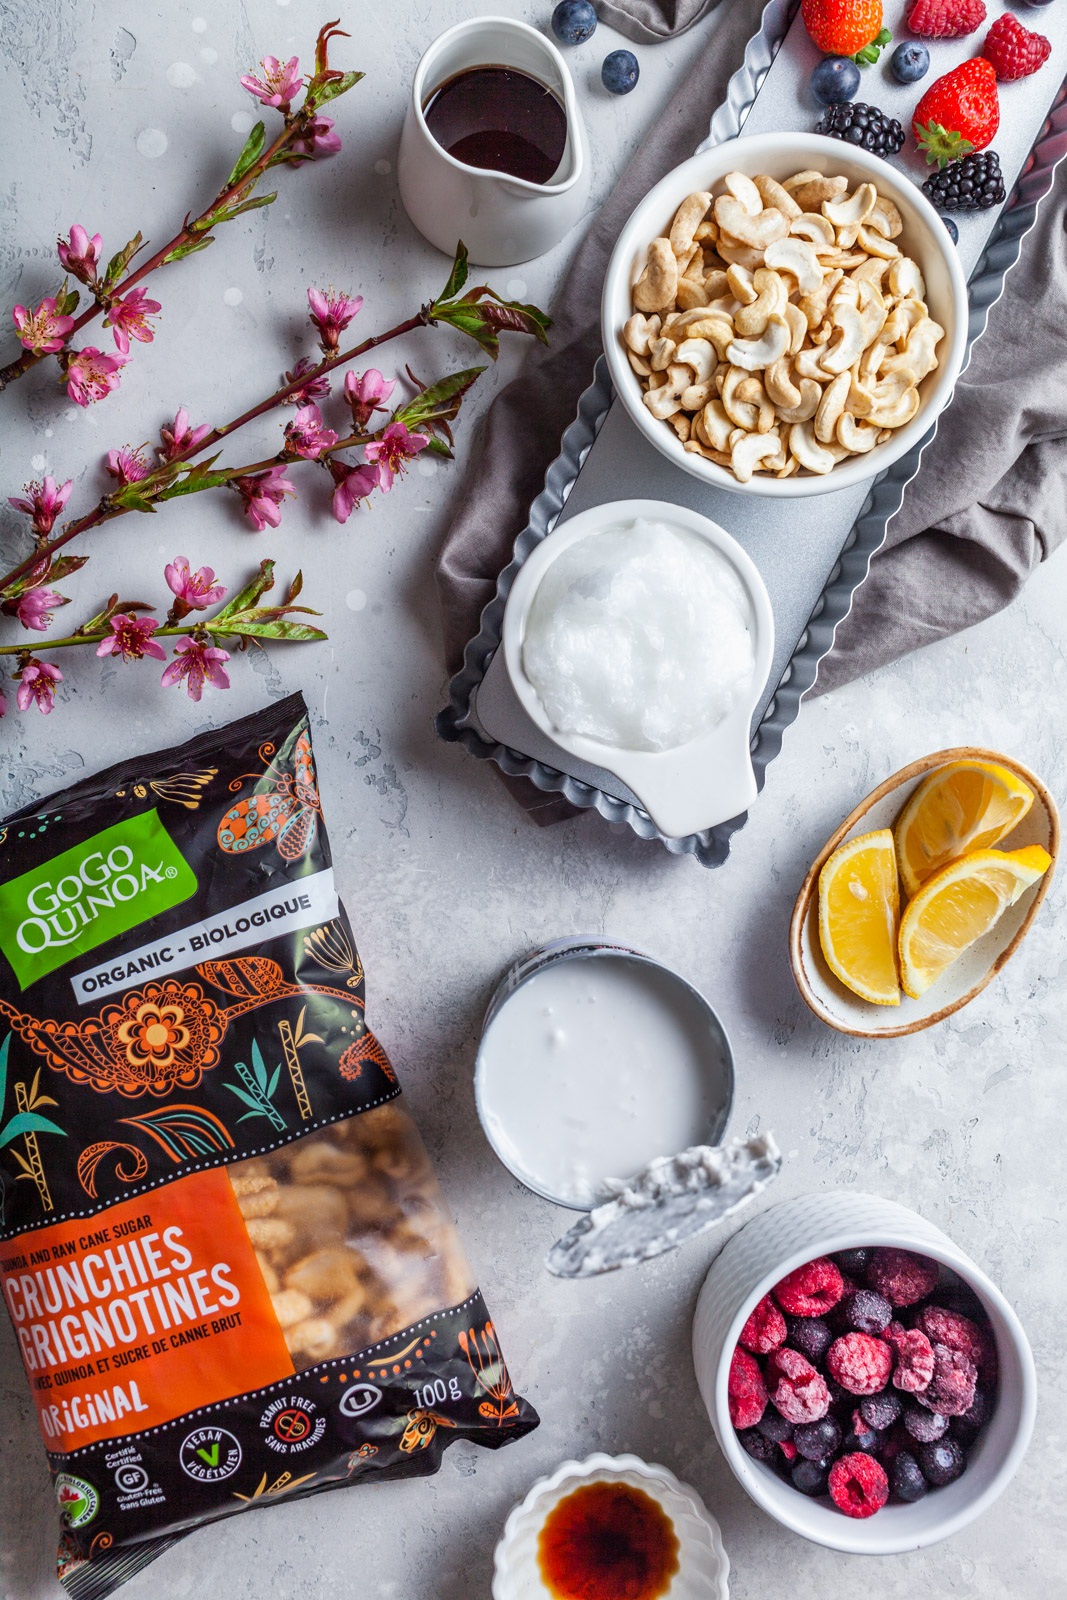
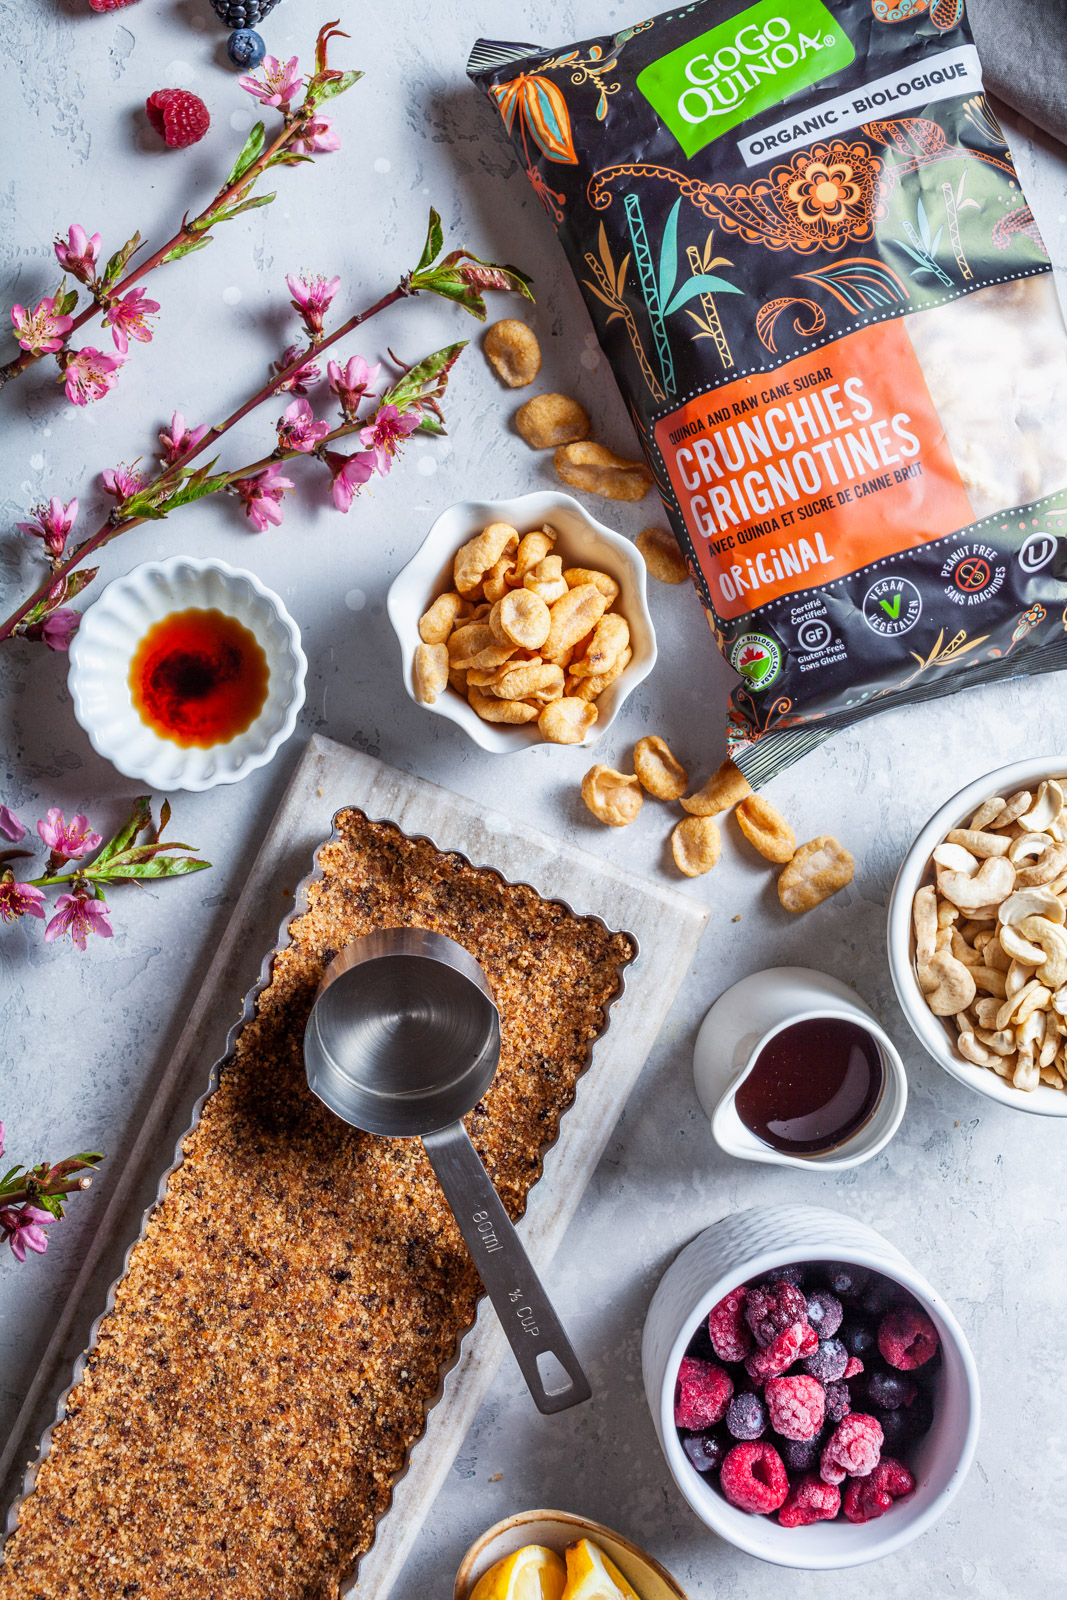
I have had pie with a cereal base/crust before and thought it was a genius use of it (captain crunch to be more specific. I love a classic junkie cereal as much as the rest (those sugar loaded ones that none of us were allowed to eat growing up except for maybe on the weekend), but I much prefer one that has slightly more nutritional value and not as tooth- achingly sweet. These Crunchies are exactly that and the perfect candidate for the crust in this cheesecake recipe.
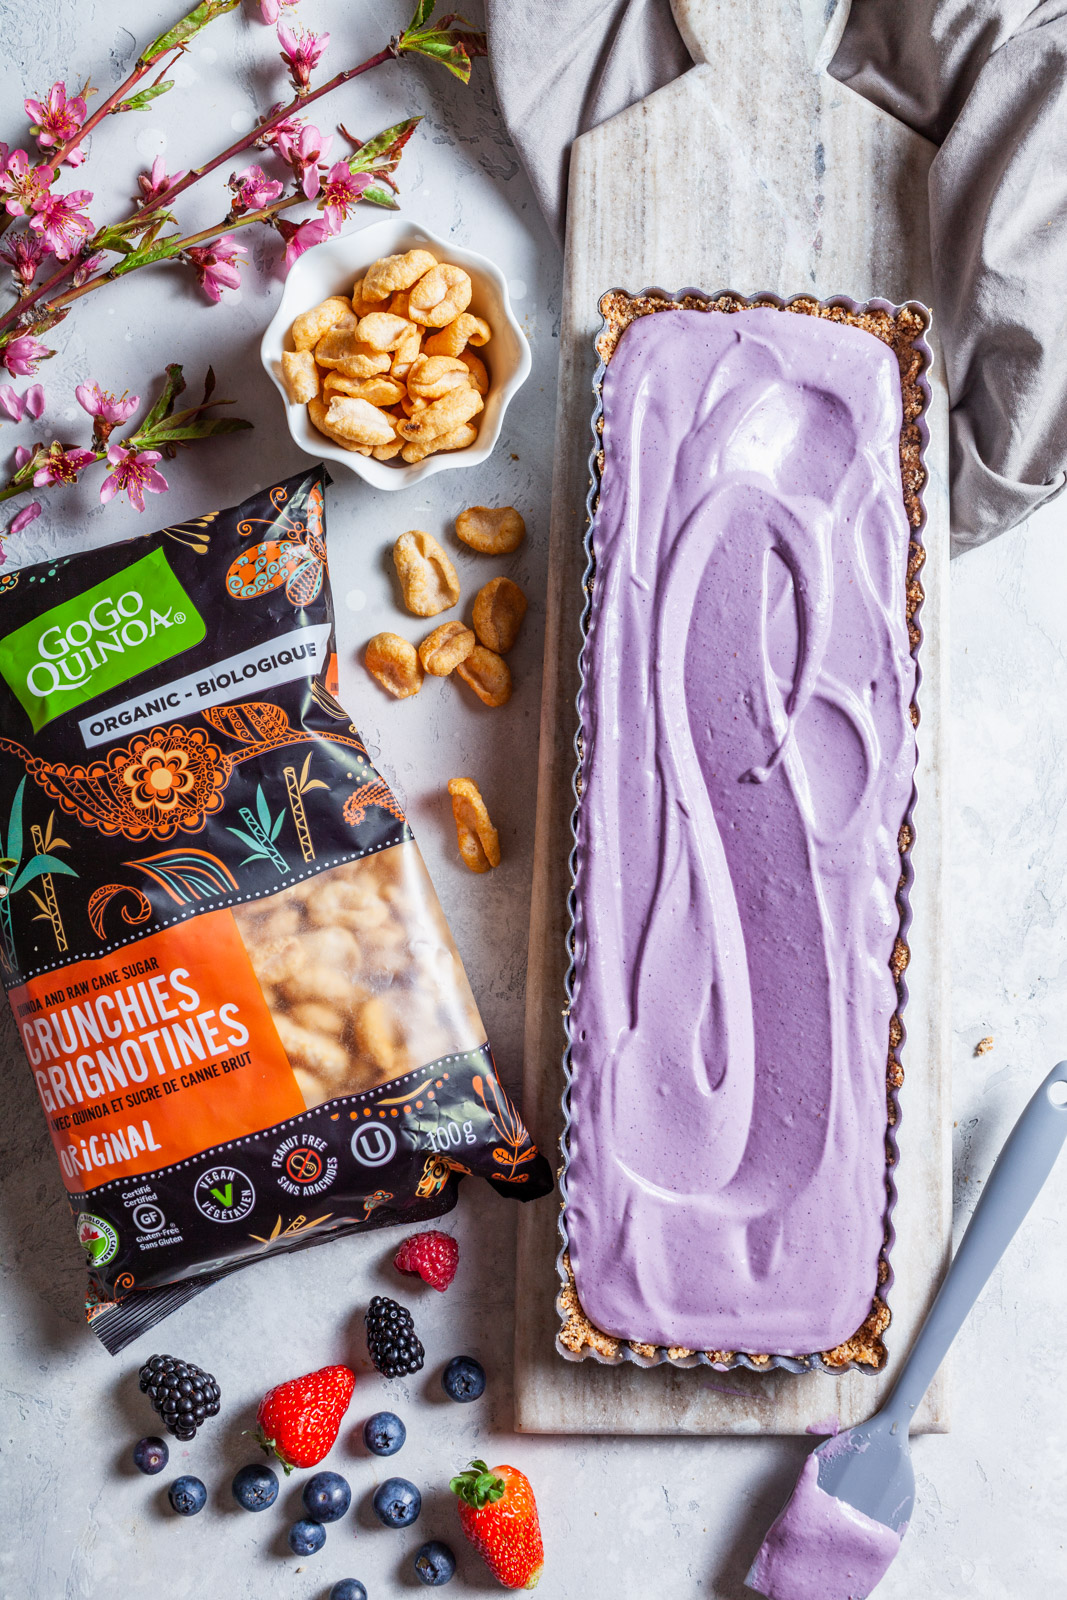
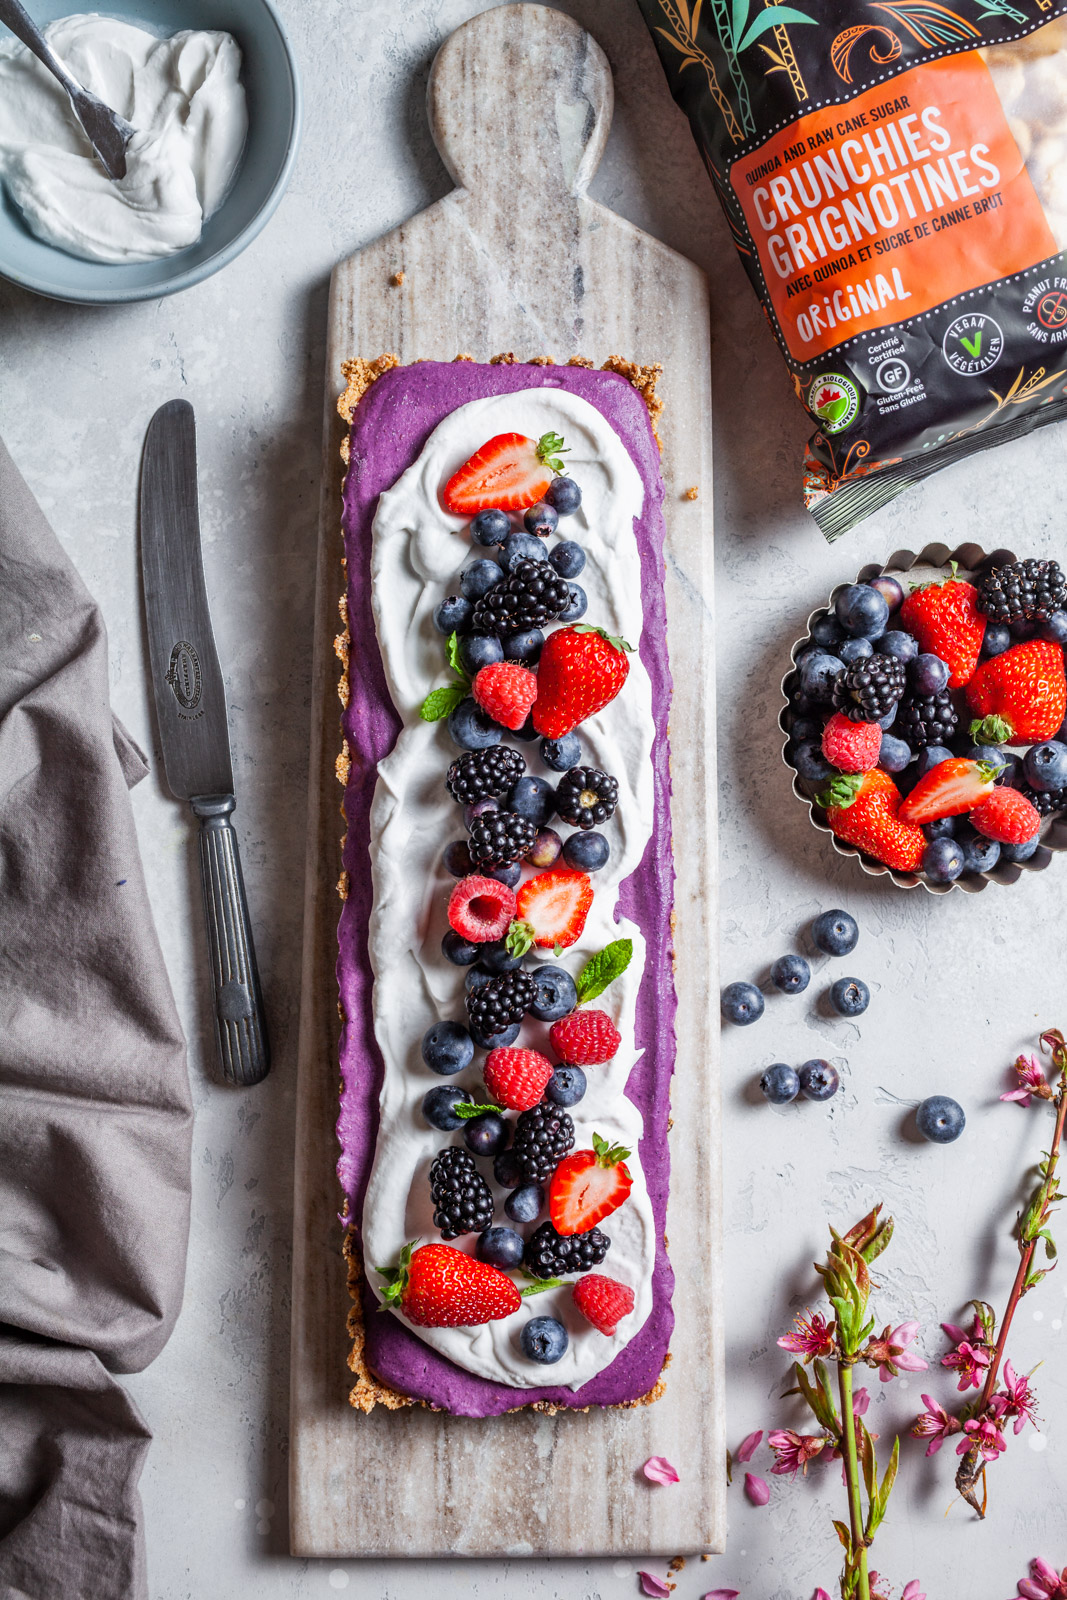
This is a no bake cheese cake and crust that you have to try!! It’s very simple to make and the perfect chilled dessert to enjoy in the summer months and especially when berry season is in full swing. The crust is made in seconds in the food processor and the cheesecake filling in a blender. - the filling can also be made in the food processor if it’s one that can handle frozen fruit, if so great-less kitchen tool cleanup. No need to turn the oven on either - both the crust and the filling set in the freezer making this recipe even easier to make. The fact that it needs time to set makes it the best kind of make ahead dessert. The entire thing can be made the day before you want to serve it. It’s a no fuss desserts that taste creamy and delicious but also looks fabulous! The filling is a gorgeous purple but then it is also effortlessly decorated with fresh-berries that look like dotted jewels on it. It’s a fun one to make and hope you get to make it and enjoy it soon!
I have partnered up with GoGo Quinoa to bring you this fabulous recipe, but all opinions are my own. Thank you for supporting Olive & Mango.
Recipe
Ingredients
Cereal crust
- 4 cups of GoGo Quinoa Organic Crunchies
- ½ cup coconut oil (use refined for no coconut flavour)
- ½ cup of pitted dates or prunes
For the filling
- 1 ½ cups raw cashews
- ⅓ cup pure maple syrup
- 1 teaspoon vanilla extract
- ½ cup full fat coconut milk (or any non dairy milk for no coconut flavour)
- 1 cup frozen mixed berries
- 2 tablespoons fresh lemon juice
Coconut cream topping
- 1 can coconut cream, set overnight in the fridge
- 3 Tbsp. powdered sugar (optional)
- 1 tsp. vanilla extract
- 1 cup of fresh berries to garnish
- Fresh mint to garnish
Directions
- For the Crust: In a food processor, crush the cereal into fine crumbs. Pour in the oil and the pitted dates or prunes and pulse until well-combined and resembles wet sand texture. Press into a greased tart pan and place in the freezer while you make the filling.
- For the filling: Place the cashews in a medium bowl and cover with approx 3 cups boiling water and let the cashews soak in the hot water for approximately 1 hour. Alternatively you can soak your cashews overnight in room temperature water so they are already ready to go. Make sure to drain them before using.
- Place the drained cashews, maple syrup, vanilla, coconut milk, lemon juice and frozen berries into a high powered blender; blend until smooth and creamy. If it is way too thick you can add another couple tablespoons of coconut milk to help process/blend.
- Pour the filling mixture over the crust and smooth the top and place in freezer while you make the whipped coconut cream topping
- With an electric mixer, whip up the solid parts of the coconut cream from the can and powdered sugar of using until fluffy. Add the vanilla and mix for another 30 seconds. (Any extra will keep for a few days in a sealed container for a few days- you may just need to whip again before using)
- Gently dollop and smooth over the filling.
- Cover with foil loosely and refrigerate for 4-6 hours or until set.
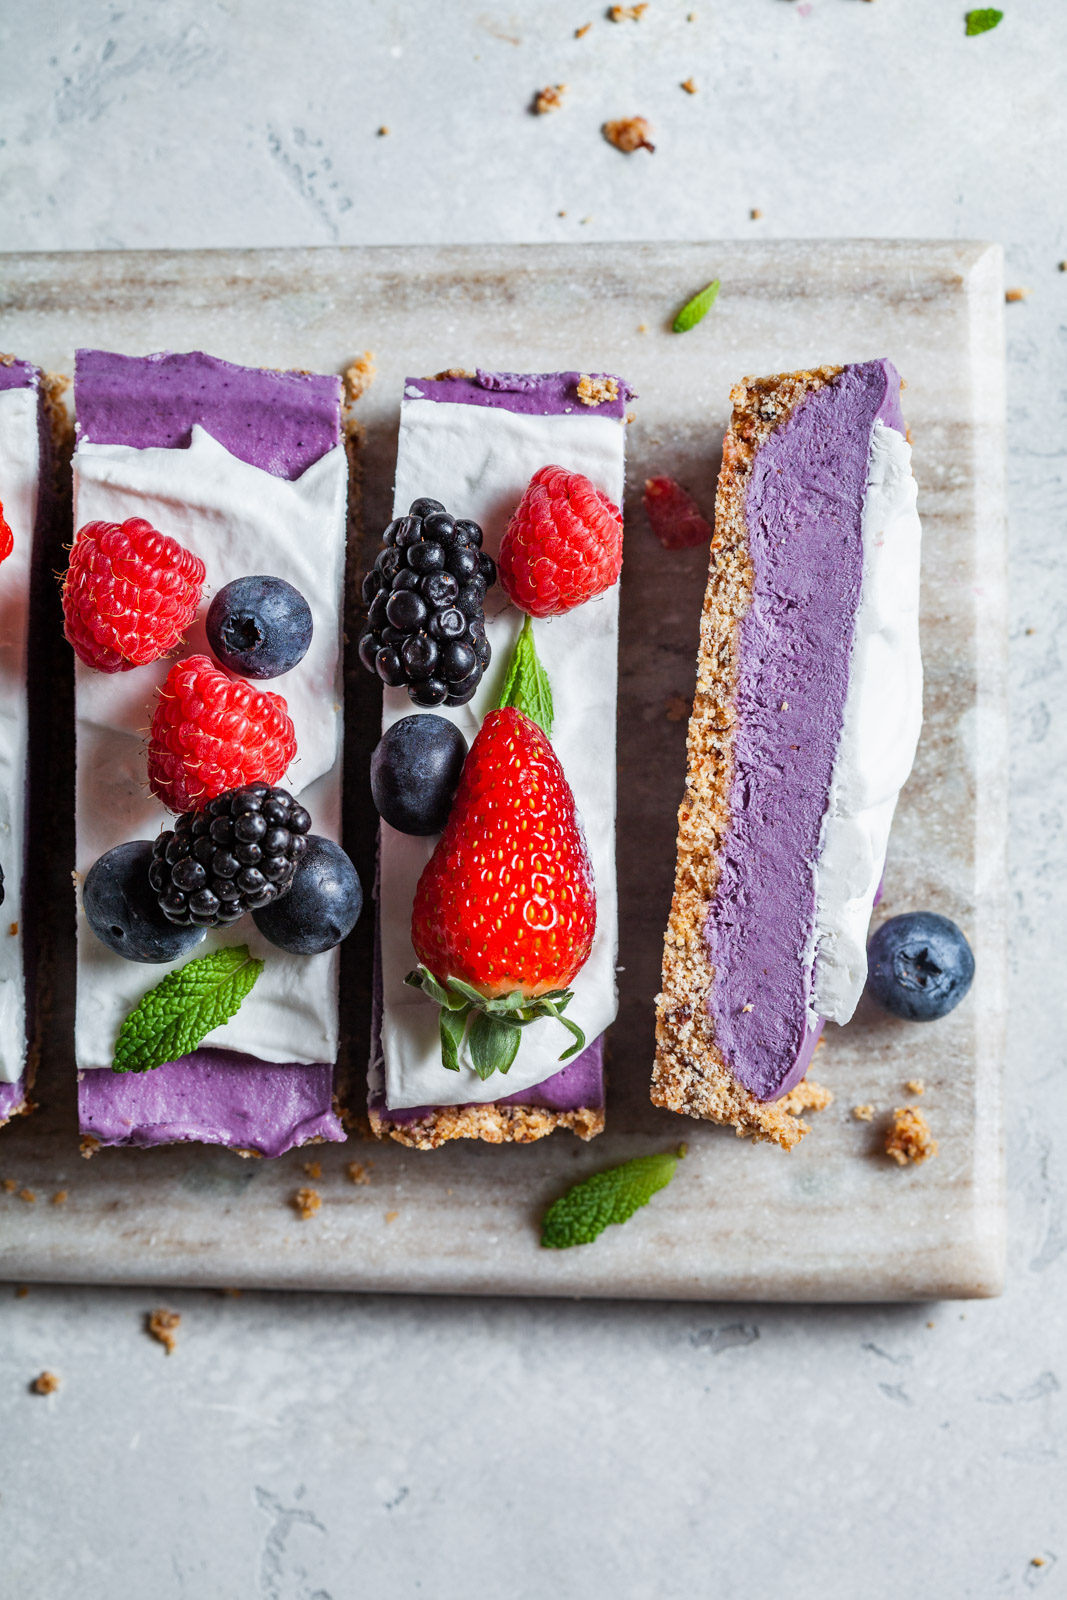
- Top with fresh berries and mint and slice and enjoy.
Adapted from Ambitious Kitchen
