Spiced Blueberry Pie
Updated 13th November 2023
There is nothing like a tasty berry pie that is lightly sweetened with a hint of spice wrapped up in an all butter flaky crisp pie crust. This blueberry pie hits the spot every time and is great whether you use Summer fresh blueberries or frozen blueberries anytime of the year. The filling is flavoured with a bit of vanilla, lemon juices and some warm complementary spices which include cardamon, cinnamon and allspice. Enjoy a slice with a scoop of vanilla ice cream or vanilla whipped cream! Some say blueberry pies are hard to make - but I say they are totally easy to make if you follow three basic tips to get a delicious blueberry pie that sets and slices wonderfully every time. Don’t thaw frozen berries if using, use a thermometer to ensure filling is done and allow to cool completely before even thinking of slicing into it - that is it!
Spiced Blueberry Pie Ingredients
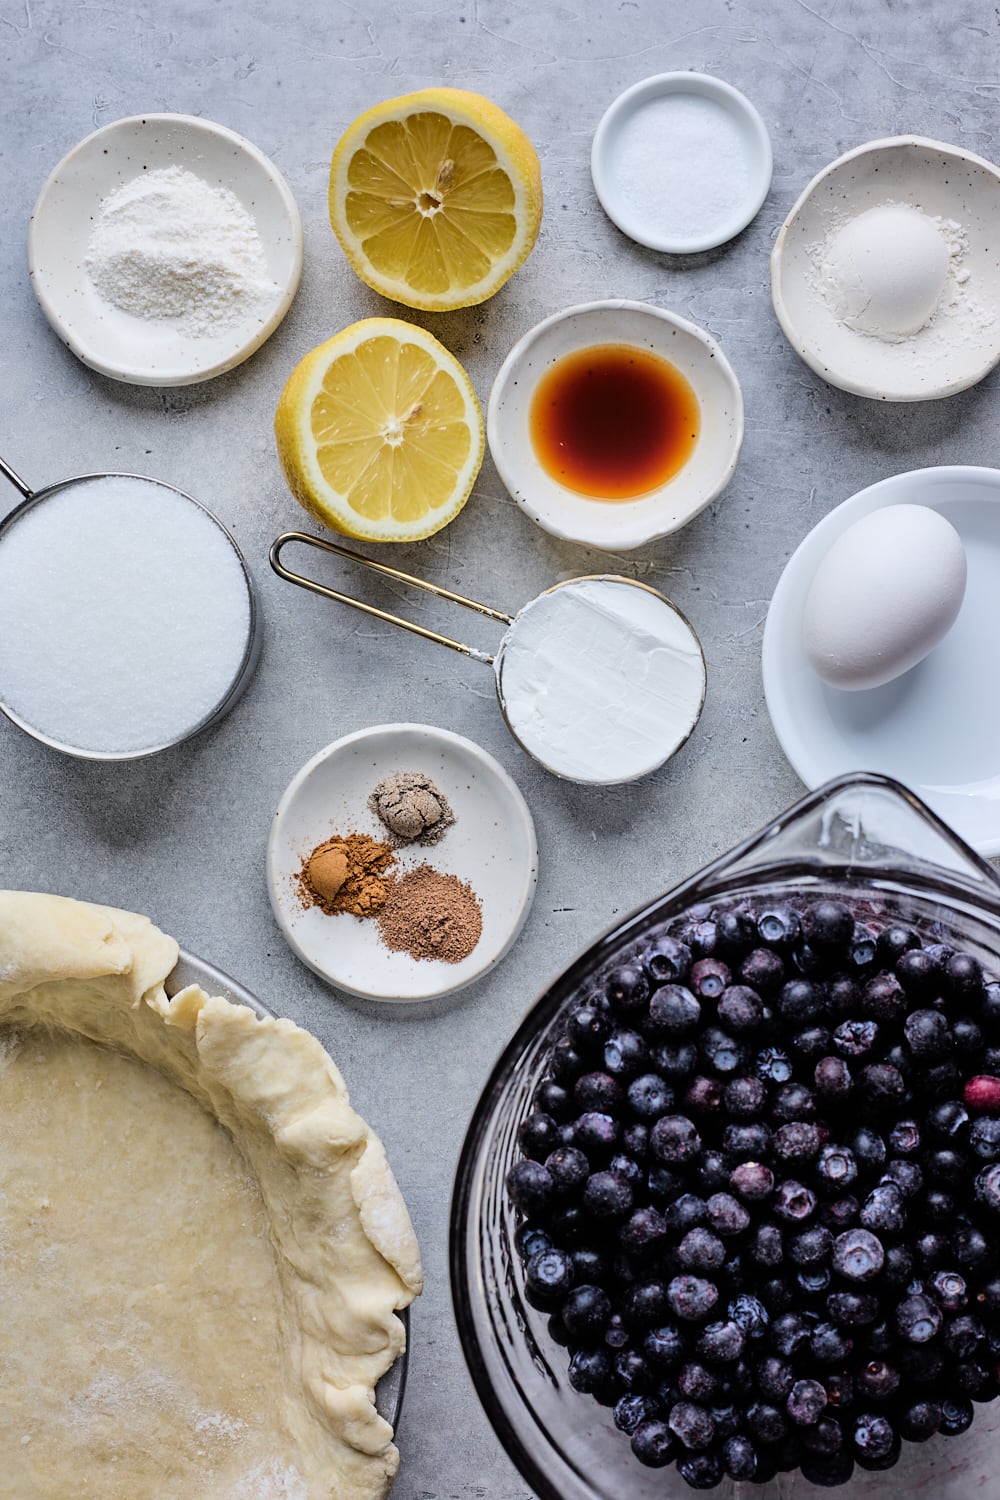
- PIE DOUGH/PIE CRUST: Store bought or homemade pie crust can be used for this blueberry pie recipe - more about that below
- BLUEBERRIES: Fresh or frozen blueberries can be used in this recipe. I make this pie all the time with frozen blueberries especially when I’m craving it when fresh blueberries are out of season or when they are way too expensive. When using frozen berries DO NOT THAW them. Toss them with the rest of the ingredients right out of the freezer - do not thaw them.
- SUGAR: I used granulated sugar and recommend it for the filling. Brown sugar has a lot more moisture in it so it may take longer for the filling to cook and set if you use brown sugar - stick to granulated sugar.
- CORNSTARCH & FLOUR: The combination of both the cornstarch and the flour help set the filling while still keeping it juicy. You can use tapioca starch instead of the corn starch if you wish.
- SPICES: For this spiced blueberry pie I chose to use ground cinnamon, ground cardamon and ground allspice. Feel free to adjust the amounts to taste. and if you want to add more spices you are welcome too - I know some like to add ground nutmeg too.
- LEMON JUICE: The lemon juice balances out the sweetness and adds a little flavor. For more pronounced lemon flavor feel free to zest the lemon before juicing and add the lemon zest to the filling as well
- VANILLA EXTRACT: I like the flavor the vanilla adds to any fruit pie filling - I use pure vanilla extract
- EGG WASH: For the shiny pie crust you will need to brush your crust with a mixture of egg and cream - if you don’t have cream simply adding a little water to egg while whisking - that will do the trick as well.
- TURBINADO SUGAR: Or coarse sugar is optional for sprinkling over the crust.
- CRUST DUST: For almost all my fruity pies I like to sprinkle over a little bit of flour and sugar or sometimes even cornmeal which helps thicken the juices further at the bottom helping prevent the crust from getting soggy.
How To Make Blueberry Pie
This tasty Blueberry pie is quiet easy to make and here are the simple instructions (full details in recipe card below)
- MAKE PIE DOUGH: You can use store bought pie dough/pie crust for this recipe if you prefer or even use your own recipe. For a tried and tested simple all butter pie dough recipe please refer to the recipe card below - recipe, directions for making dough, rolling it out and lattice design included
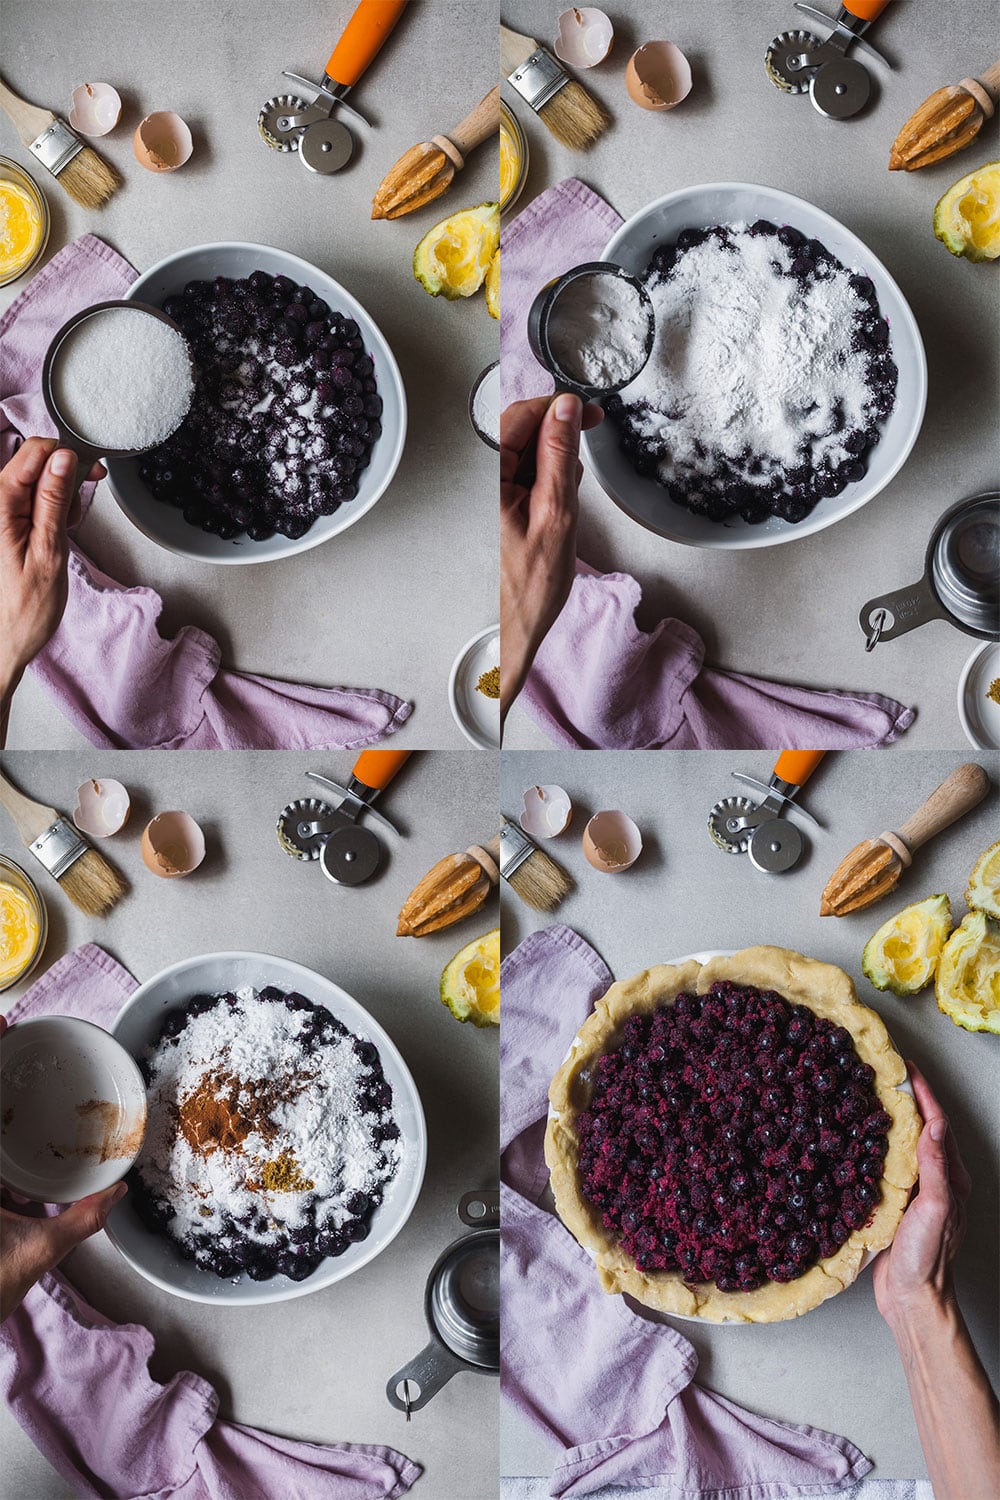
- PREPARE FILLING: Stir the blueberries, sugar, cornstarch, flour,lemon juice, vanilla, cinnamon, cardamon and allspice together until thoroughly combined.
- ROLL OUT PIE DOUGH & ASSEMBLE PIE: Roll out one disc of pie dough and fit into pie dish: Transfer blueberry mixture to crust. Roll out remaining disc of pie dough: Cut out pieces if making lattice or if covering pie with one sheet of pie dough leave as is - top pie with singe layer of pie dough or lattice, trim edges as needed. Fold edges and crimp. Make a few slits into top pie dough if leaving it whole as one sheet.
- CHILL PIE & BRUSH WITH EGG WASH: Chill pie in the fridge 20-30 min or in the freezer for 10 min or until the pie dough is chilled. Brush pie top and edges with egg wash: Sprinkle top with coarse sugar if desired before baking
- BAKE PIE: Bake at 400°F until deeply golden brown and fruit is bubbling and instant read thermometer comes out of filling reading around 200-213°F (93-101°C) when done. I place a pie shield on top of the pie or tent loosely with foil to prevent the edges and top from browning too quickly at the 45-60 minute mark
- COOL PIE: Remove pie from oven when done and allow to cool on cooling rack for 2-3 hours before slicing and enjoying
Evolution of this blueberry pie: One of the pie friends I follow on IG just so happened to post a blueberry pie on her feed as I was on the search and she recommended a Serious Eats recipe for the best blueberry pie filling recipe that is a total no-fail using fresh or frozen berries. Who am I to ever question anything from serious eats? So I went straight over and started reading. The pie filling recipe sounded super simple. When I say simple you guys, and when it comes to pie filling, I really mean simple. Toss everything and dump into pie crust. That is exactly what this recipe was about. There was no boiling fruit, straining fruit and cooking and reducing syrup. It was a simple toss and dump. Couple of years later I’m still making this pie and every time I make it it just tastes better and better - its probably because I love blueberries so much ad crave this pie many times in a year! I think you will love it too!
Tips For Making Blueberry Pie
- If using frozen blueberries as I do when I make this pie - DO NOT THAW THEM before tossing them with the filling ingredients. Keep them frozen.
- Use a INSTANT READ THERMOMETER. Blueberry pie takes a lot longer than some pies to bake because the berries literally need to boil or simmer so that there juices thicken with the flour and cornstarch (like pecan pie). Usually this takes close to 75–80 minutes total but longer if you are using frozen berries and depending on your oven and also the type of pie plate you use (thickness of it and material). The internal temperature in the test pies was around 200-213°F (93-101°C) when done.
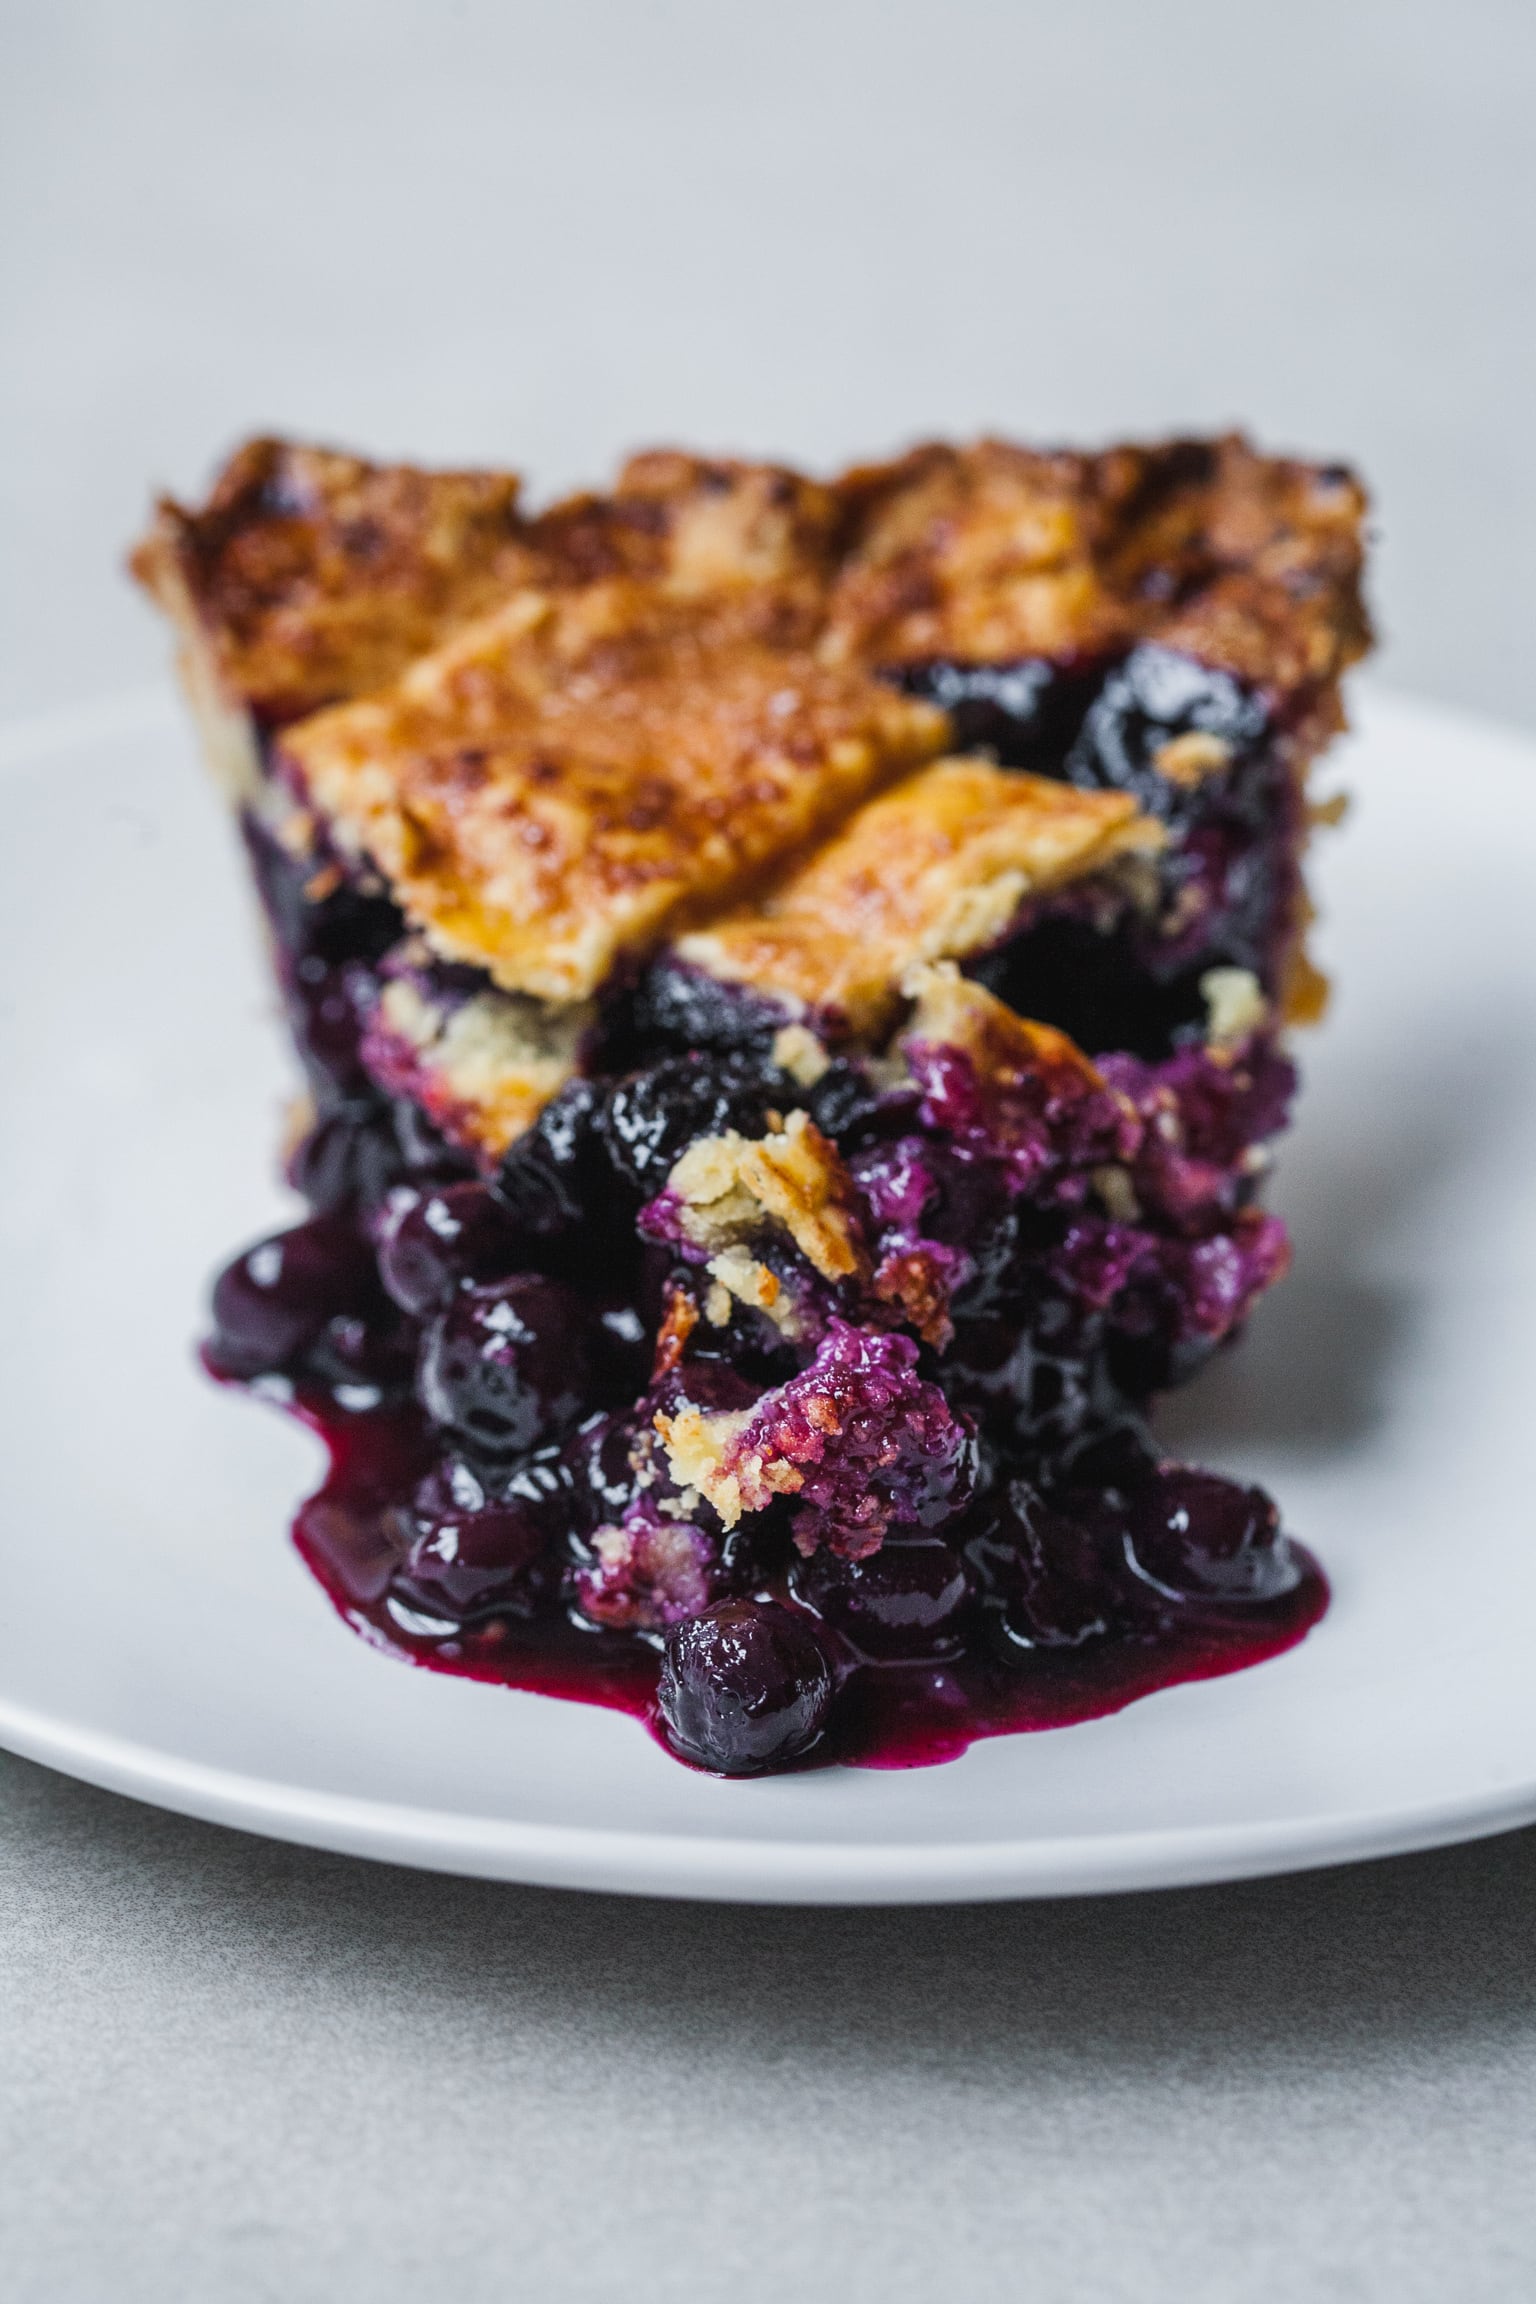
- Cool pie COMPLETLEY. Let the pie cool almost to room temperature so the juices thicken. This will make it easier to slice and serve. If you slice into a hot pie, the filling will slide out. It will be a mess! A happy and delicious mess but if you are serving it to company you might want to plan ahead accordingly.
- If your oven tends to run hot and 400°F seems a bit high to bake your pie - feel free to reduce temp to 375 or 350°F but remember that the filling needs to get super hot to thicken (like making gravy with cornstarch or flour it needs to simmer to thicken) so you will likely need to bake your pie for a lot longer for it to reach temperature
Blueberry Pie Storage, Make Ahead and Freezing
- STORAGE: Leftover pie can be wrapped tight with plastic wrap and aluminum foil stored in the fridge for up to 5 days.
- MAKE AHEAD: The Pie Dough - can be made in advance and stored wrapped in plastic wrap in the fridge for up to 3 days. It can also be wrapped and frozen for up to three months. Thaw in the fridge overnight and then rollout as directed. The Entire Pie can be made and baked the day before which will allow plenty of room for filling to cool and set making this a great make ahead pie recipe.
- FREEZING: Baked pie freezes well for up to 3 months. Thaw overnight in the refrigerator and allow to come to room temperature before serving. Here is how to do It - Bake and cool pie as directed. Place your pie into the freezer to allow it to initially freeze, for 1-2 hours or preferably overnight. Then, wrap your frozen pie in a layer of plastic wrap, followed by a layer of aluminum foil. Place the wrapped pie into a freezer-safe storage bag, squeezing out any excess air. Thaw it by moving it to the fridge overnight (or up to 24 hours). Remove wrappings and reheat your pie if you like!
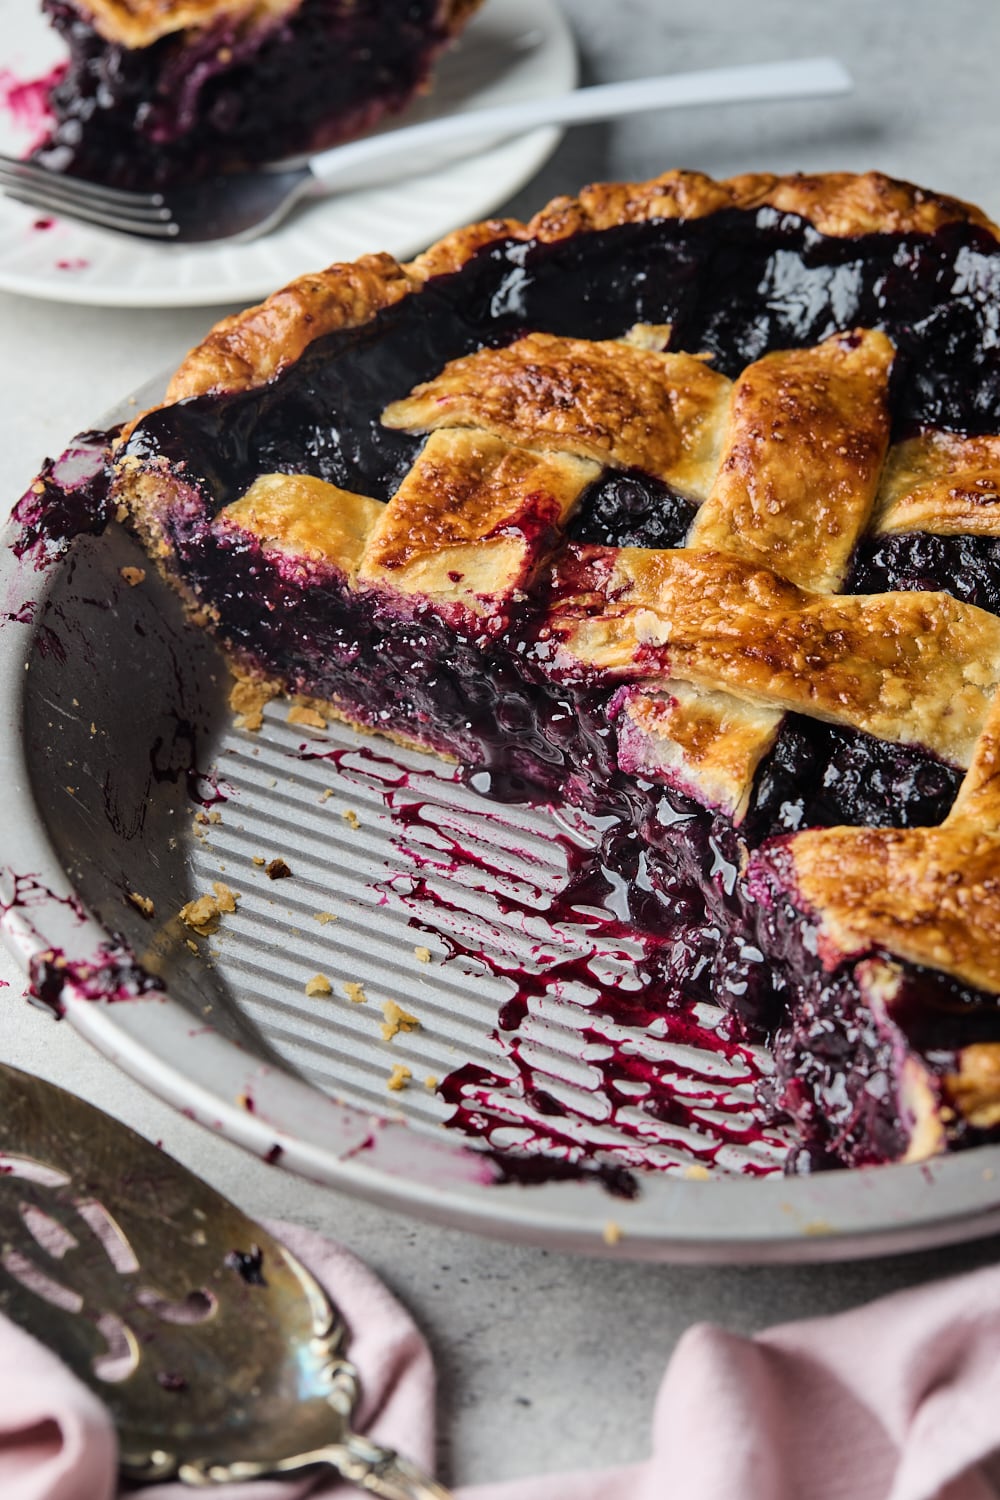
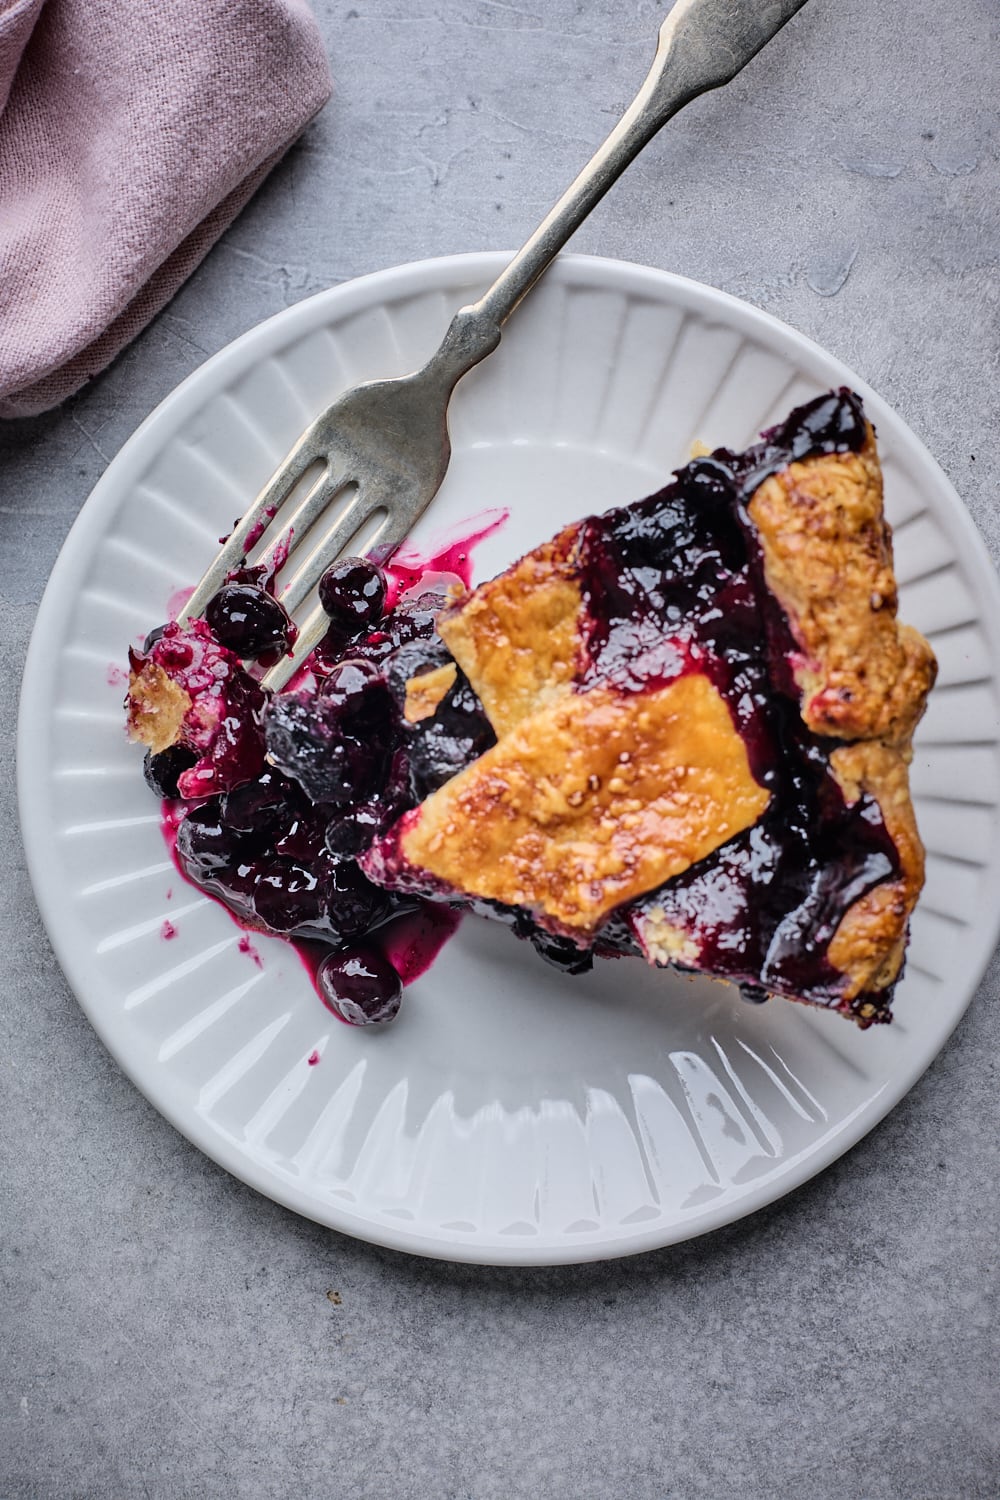
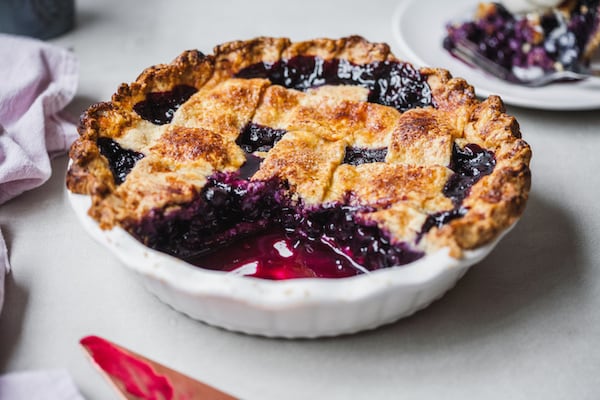
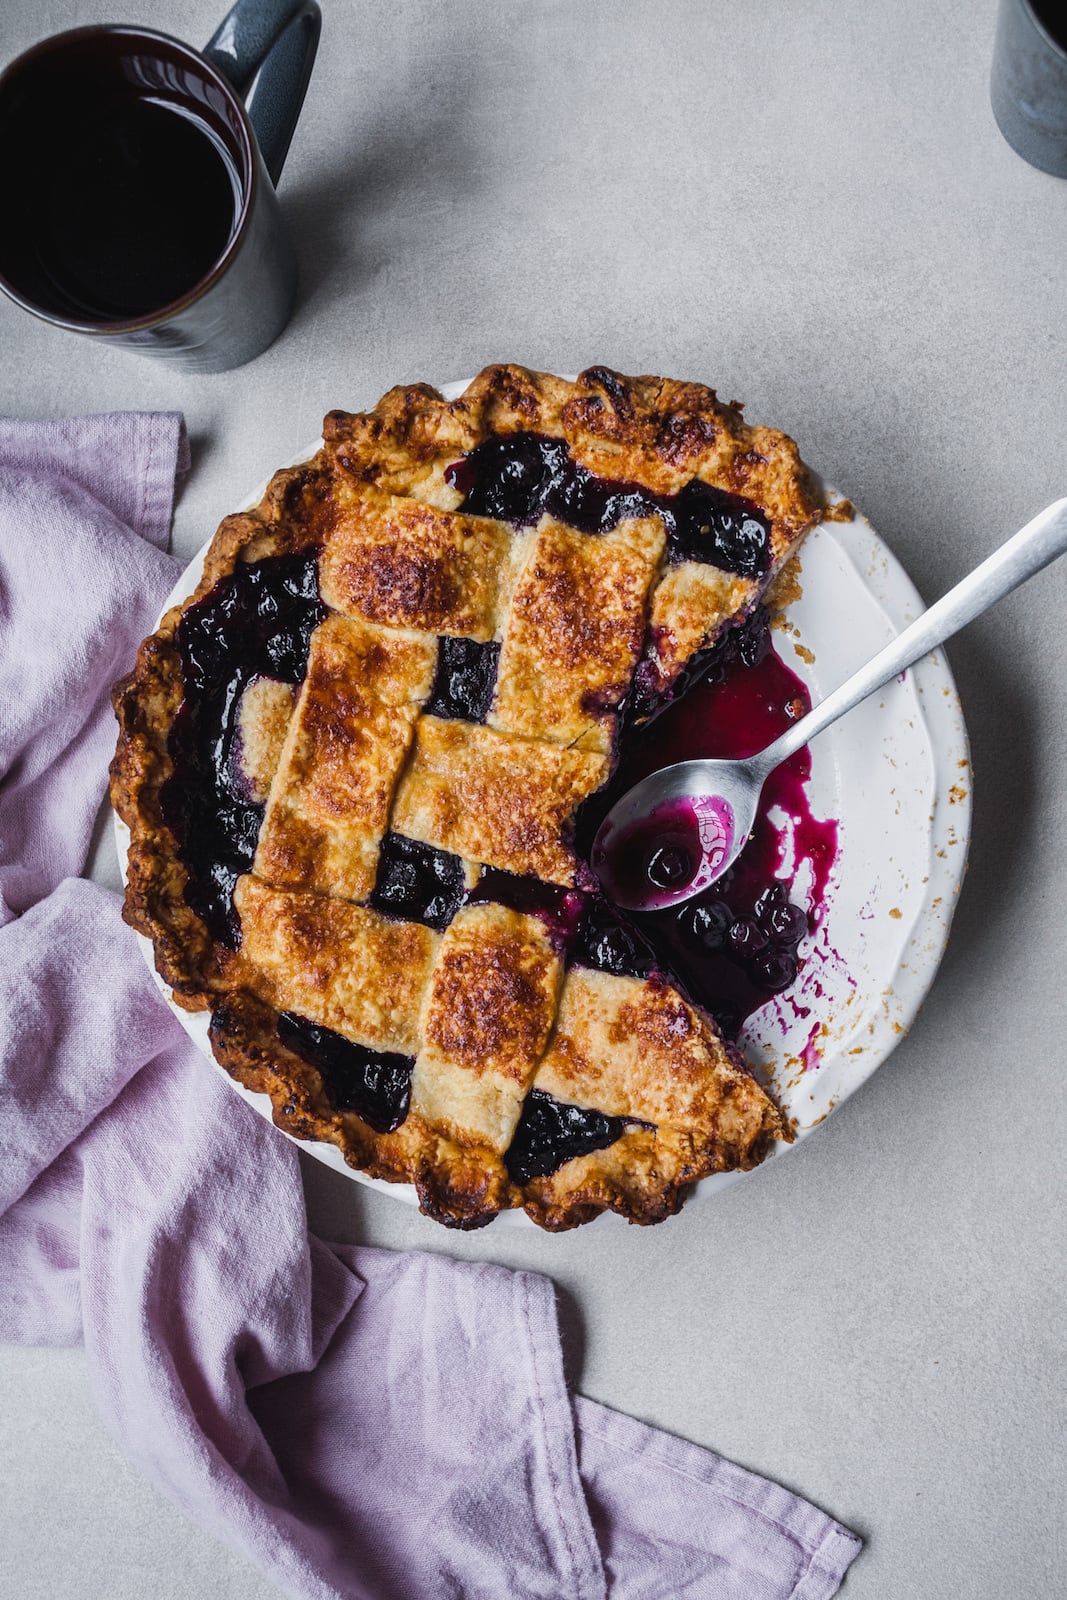
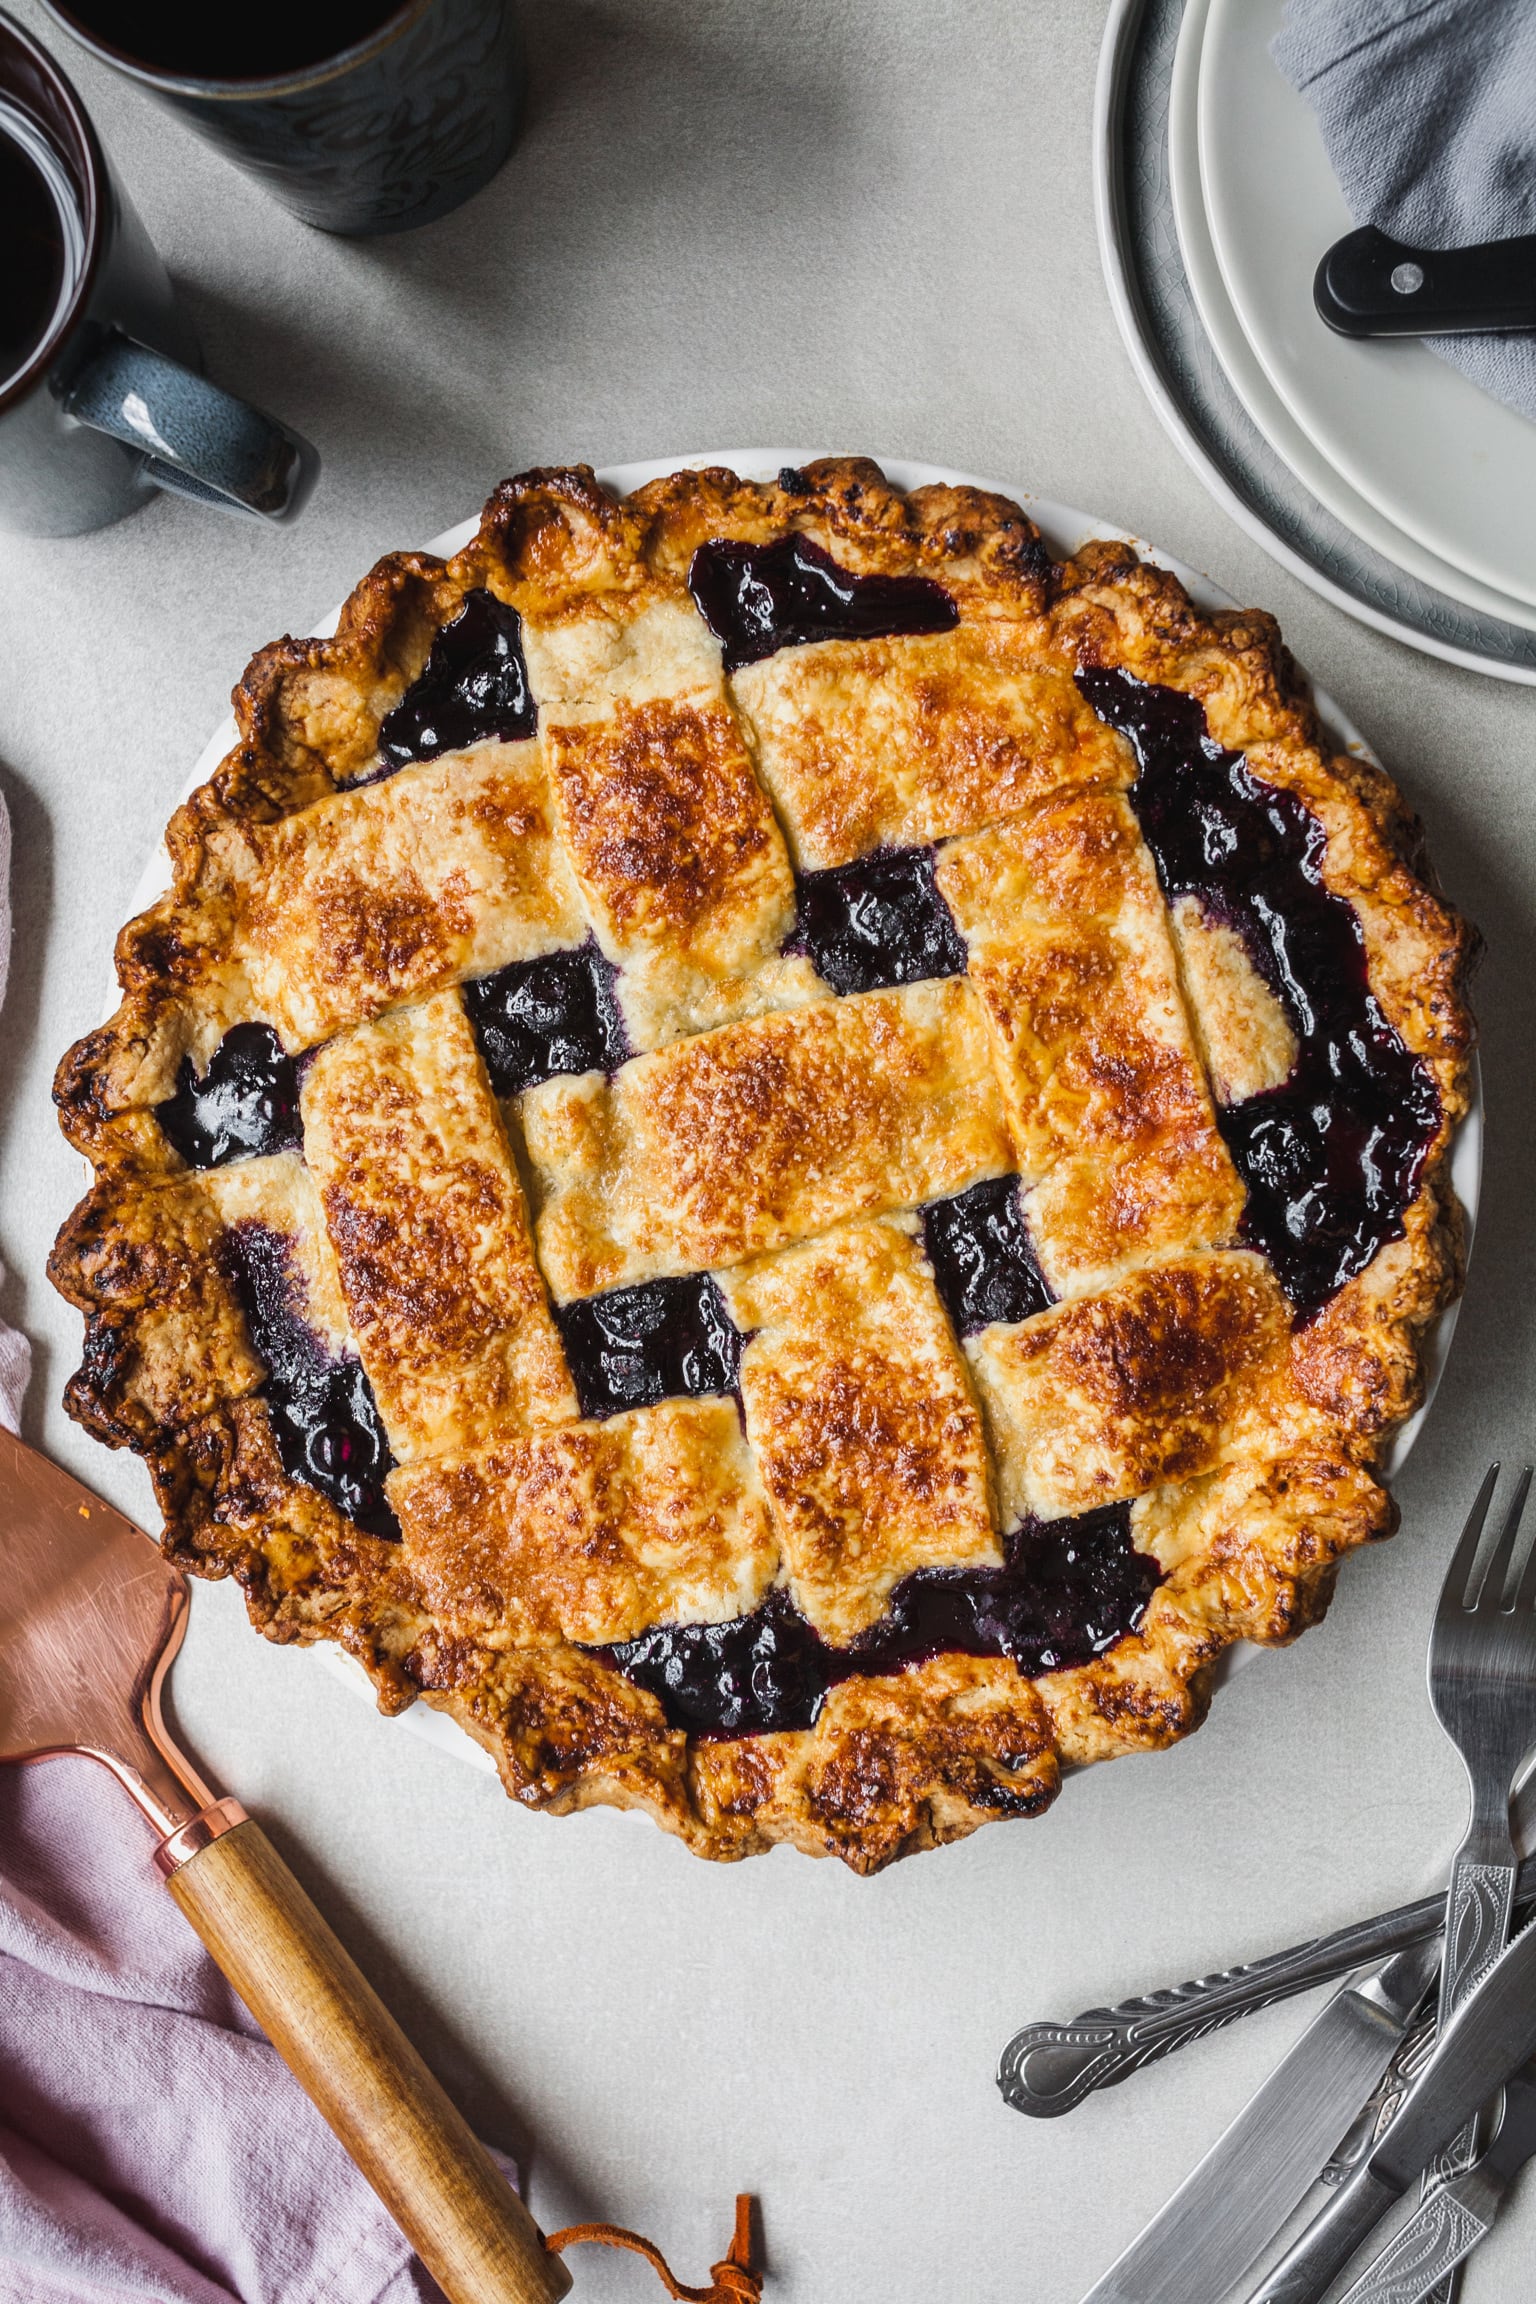
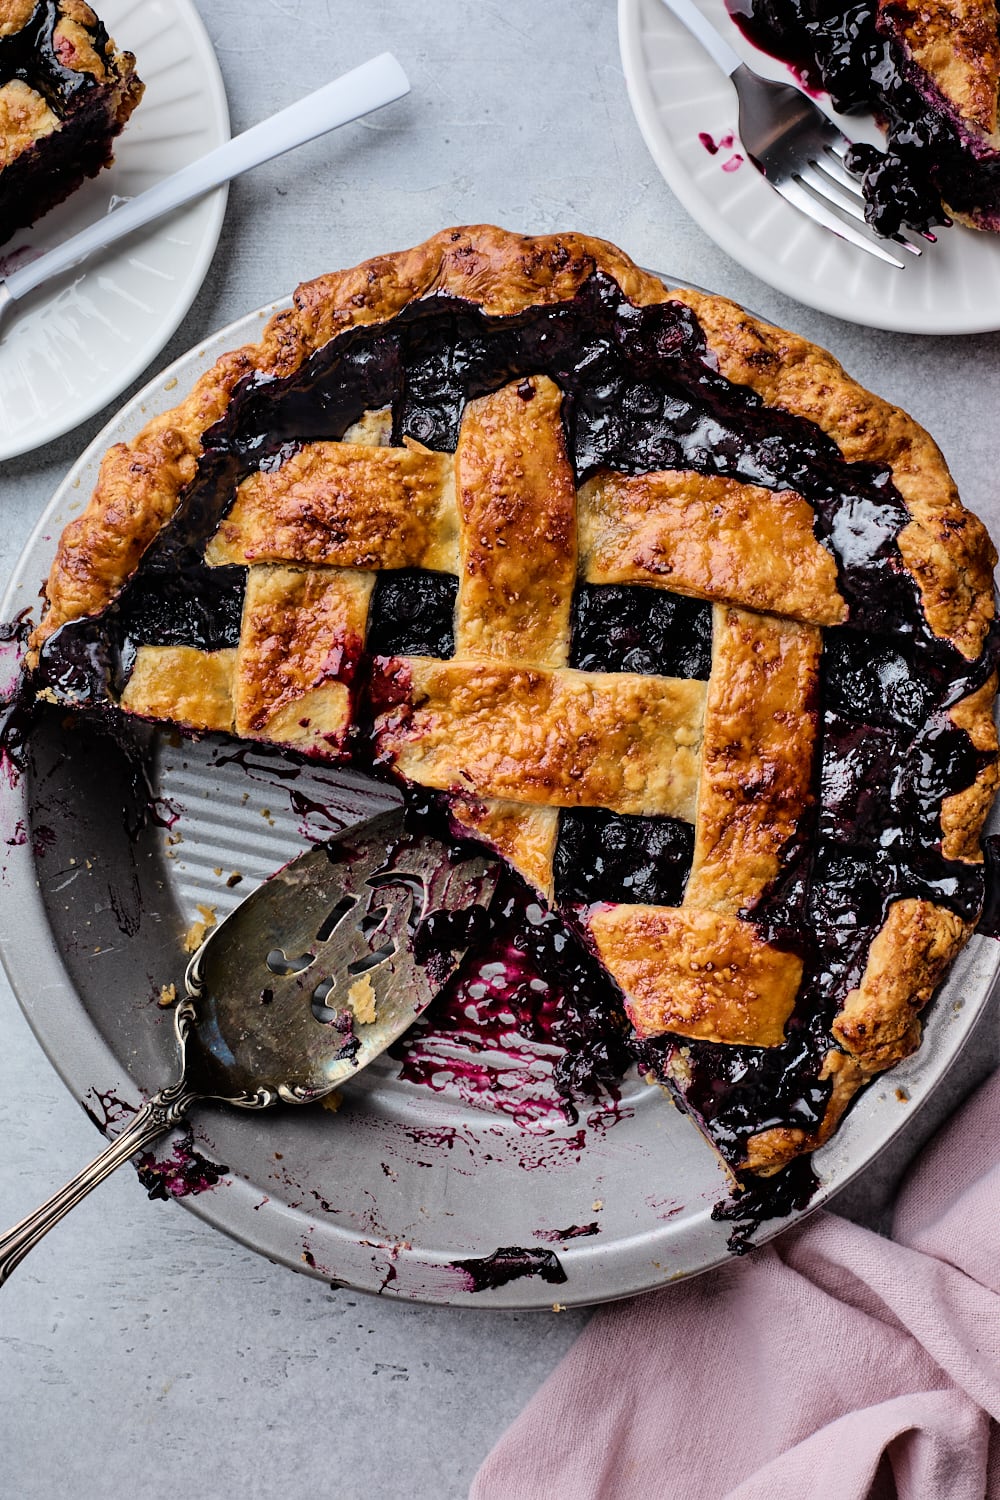
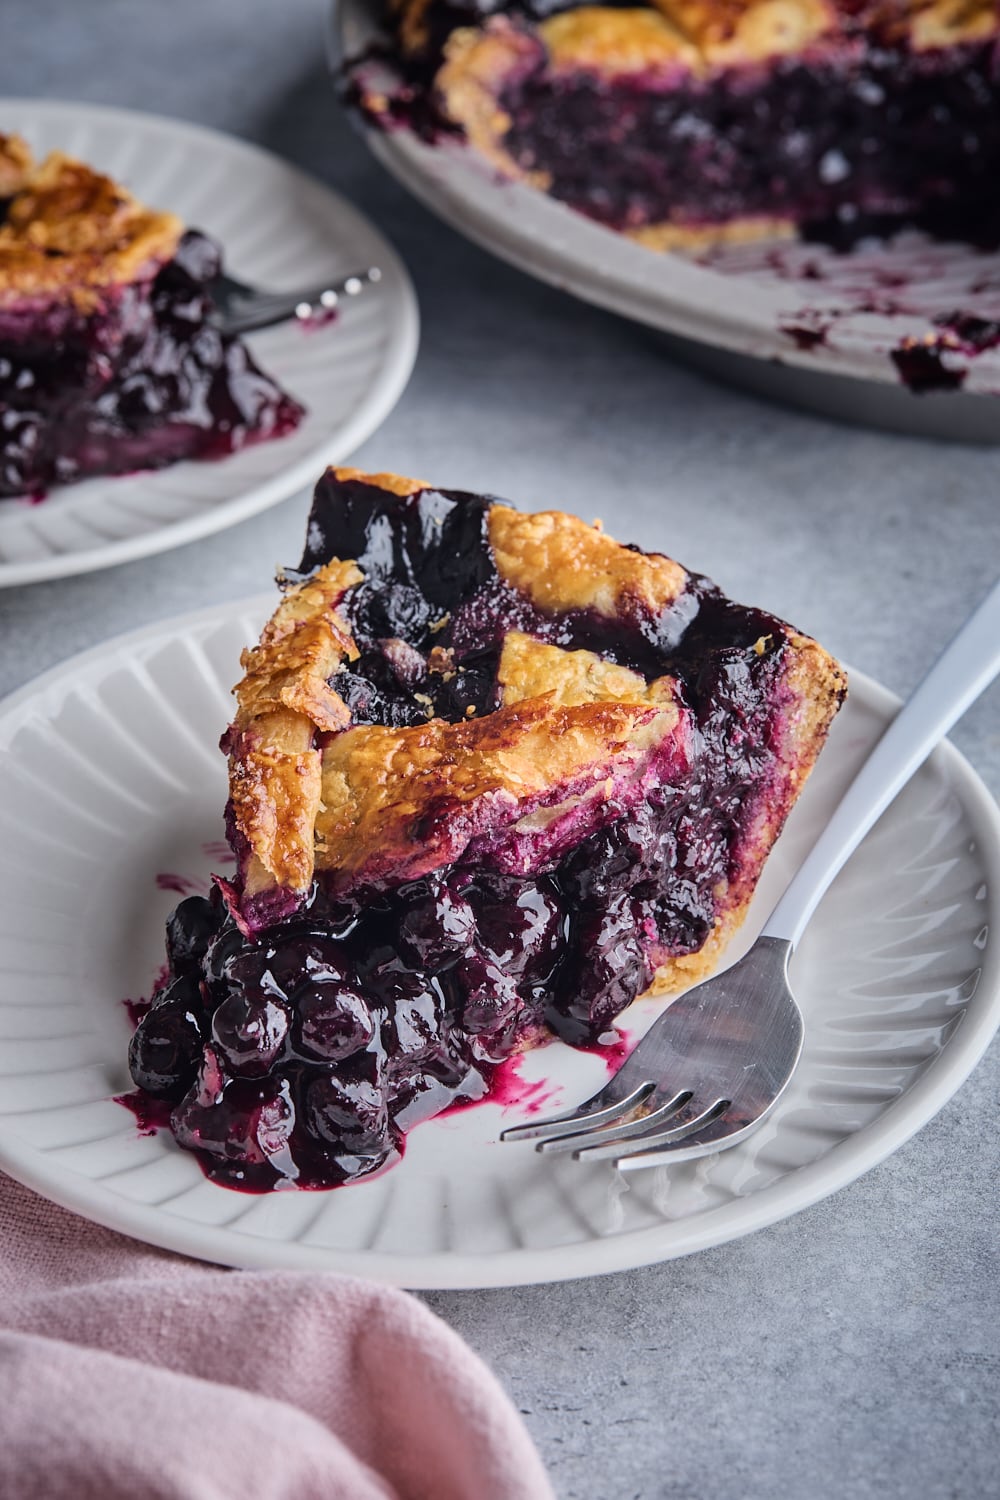
This is truly a delicious pie and it is such a simple recipe that I recommend it to anyone! Hope you give it a try whether you are a seasoned pie maker or a beginner. We could not even wait until the pie fully set thus the pan juices in the initial photos. The other photos show the pie fully cooled and set and so easy peasy to slice. I def recommend waiting if you can!
More Dessert Recipes You Will Love:
Recipe
Ingredients
For the Pie Crust (baked two 9 inch pie crusts)
- 2 and ½ cups all-purpose flour, plus more as needed
- 2 teaspoons granulated sugar
- 1 teaspoon salt
- 1 cup unsalted butter, chilled and cubed
- ½ cup ice water, plus more as needed
For the Egg Wash
- 1 large egg
- 1 tablespoon heavy cream/full fat milk
- 1 tablespoon of brown sugar for dusting
For the Filling
- 28 oz blueberries fresh or frozen / usually about 5 3/4 or 6 cups
- 2 tablespoons of fresh juice from 1 lemon
- 1 cup of granulated sugar
- ½ teaspoon of salt
- ¼ teaspoon ground cardamom
- ¼ teaspoon ground cinnamon
- ¼ teaspoon ground allspice
- 1 teaspoon vanilla extract
- ⅓ cup cornstarch
- 1 tablespoon flour
For Crust Dust
- 1 teaspoon all purpose flour
- 1 teaspoon granulated sugar
Directions
For the Dough
- Combine the flour, sugar and salt in a food processor and pulse a few times to combine. Alternatively if making crust by hand, whisk the flour and salt together in a mixing bowl.
- Scatter the cubes of butter over the surface of the flour in the food processor and pulse 15 to 25 times until the mixture resembles cornmeal with pieces of butter no larger than a pea. Alternatively, cut the butter into the flour using a pastry cutter, a fork, or your fingertips but do not overwork.
- Drizzle the cold water in, 2 Tablespoons at a time, and stir or pulse a couple of times after each addition. Stop adding water when the dough comes together easily and begins to form large clumps. The dough will feel moist and a little sticky, but not feel overly wet. Do not add any more water than you need to and do not overwork.
- Turn the pie dough out onto a clean work surface. Use your hands to very quickly gather and press the shaggy dough into a thick disk. Divide dough in half. Using your hands, flatten each half into a disc.
- Wrap each disc tightly in plastic wrap and refrigerate for at least 2 hours and up to 5 days before using in a pie recipe. (or freeze for up to 3 months; defrost in the fridge overnight before using).
- When ready to use remove the dough disk from fridge, sprinkle your clean working surface and rolling pin with flour.
- Unwrap the dough and lay it on top of the lightly floured surface. Working from the middle of the dough outwards, roll the dough into a circle approx 12 inches in diameter (a few inches larger than your pie pan).
- Lay your rolling pin on one edge of the pie crust and begin gently rolling the pie crust over the rolling pin with the help of dough scraper if needed.
- When it’s all rolled up, move it to the 9-inch pie pan (NOT deep dish for this recipe) and gently unroll it into the pie plate and shape or ease it into the plate.
- Trim the pie dough edges and crimp them using your finger or a fork. Then place the dough in the fridge while you make the filling and lattice (directions for lattice below)
For the Filling
- In a large bowl toss together the blueberries, lemon juice, sugar, salt, cardamom, cinnamon, all spice, vanilla extract, cornstarch and flour in a large bowl, folding with a flexible spatula until well combined.
Assembly
- Sprinkle pie crust with crust dust flour and sugar and then scrape the berry mixture into a prepared pie shell and top with remaining dough, using a solid sheet, cutouts, or a simple lattice-top design.
- Trim away excess dough and press in the edges with a fork or your fingers and refrigerate to ensure top crust is completely chilled, about 30 minutes.
- Meanwhile, adjust oven rack to lower-middle position and preheat to 400°F
- In a small bowl whisk together the egg and cream for your egg wash. Brush over chilled top crust in a thin, even layer. Sprinkle brown sugar evenly over crust.
Bake
- Place chilled pie on a parchment-lined rimmed baking sheet if desired (optional to help pick up any excess fruit juices) Bake until crust is golden, about 45-60 minutes then loosely cover or tent with foil or use a pie shield. (please monitor pie and if need tent with foil sooner)
- Continue baking until filling is bubbling even in the very center of the pie, about 15 minutes longer. The time can vary considerably depending on the thickness and type of pie plate. Mine usually takes 1hr 15-20 minutes and I use my thicker ceramic pie plate. To be precise, I strongly recommend using an instant read thermometer - the the internal temperature of the filling should be around 200-213°F (93-101°C) when done.
- Cool pie on a cooling rack until the pie plate is no longer warm to the touch (approx 3 hours) and then serve or refrigerate if serving later.
- Wrapped in foil, leftovers will keep up to 3 days at room temperature; warm 10 minutes in a 350°F oven to revive crust before serving.
For Simple Lattice instructions
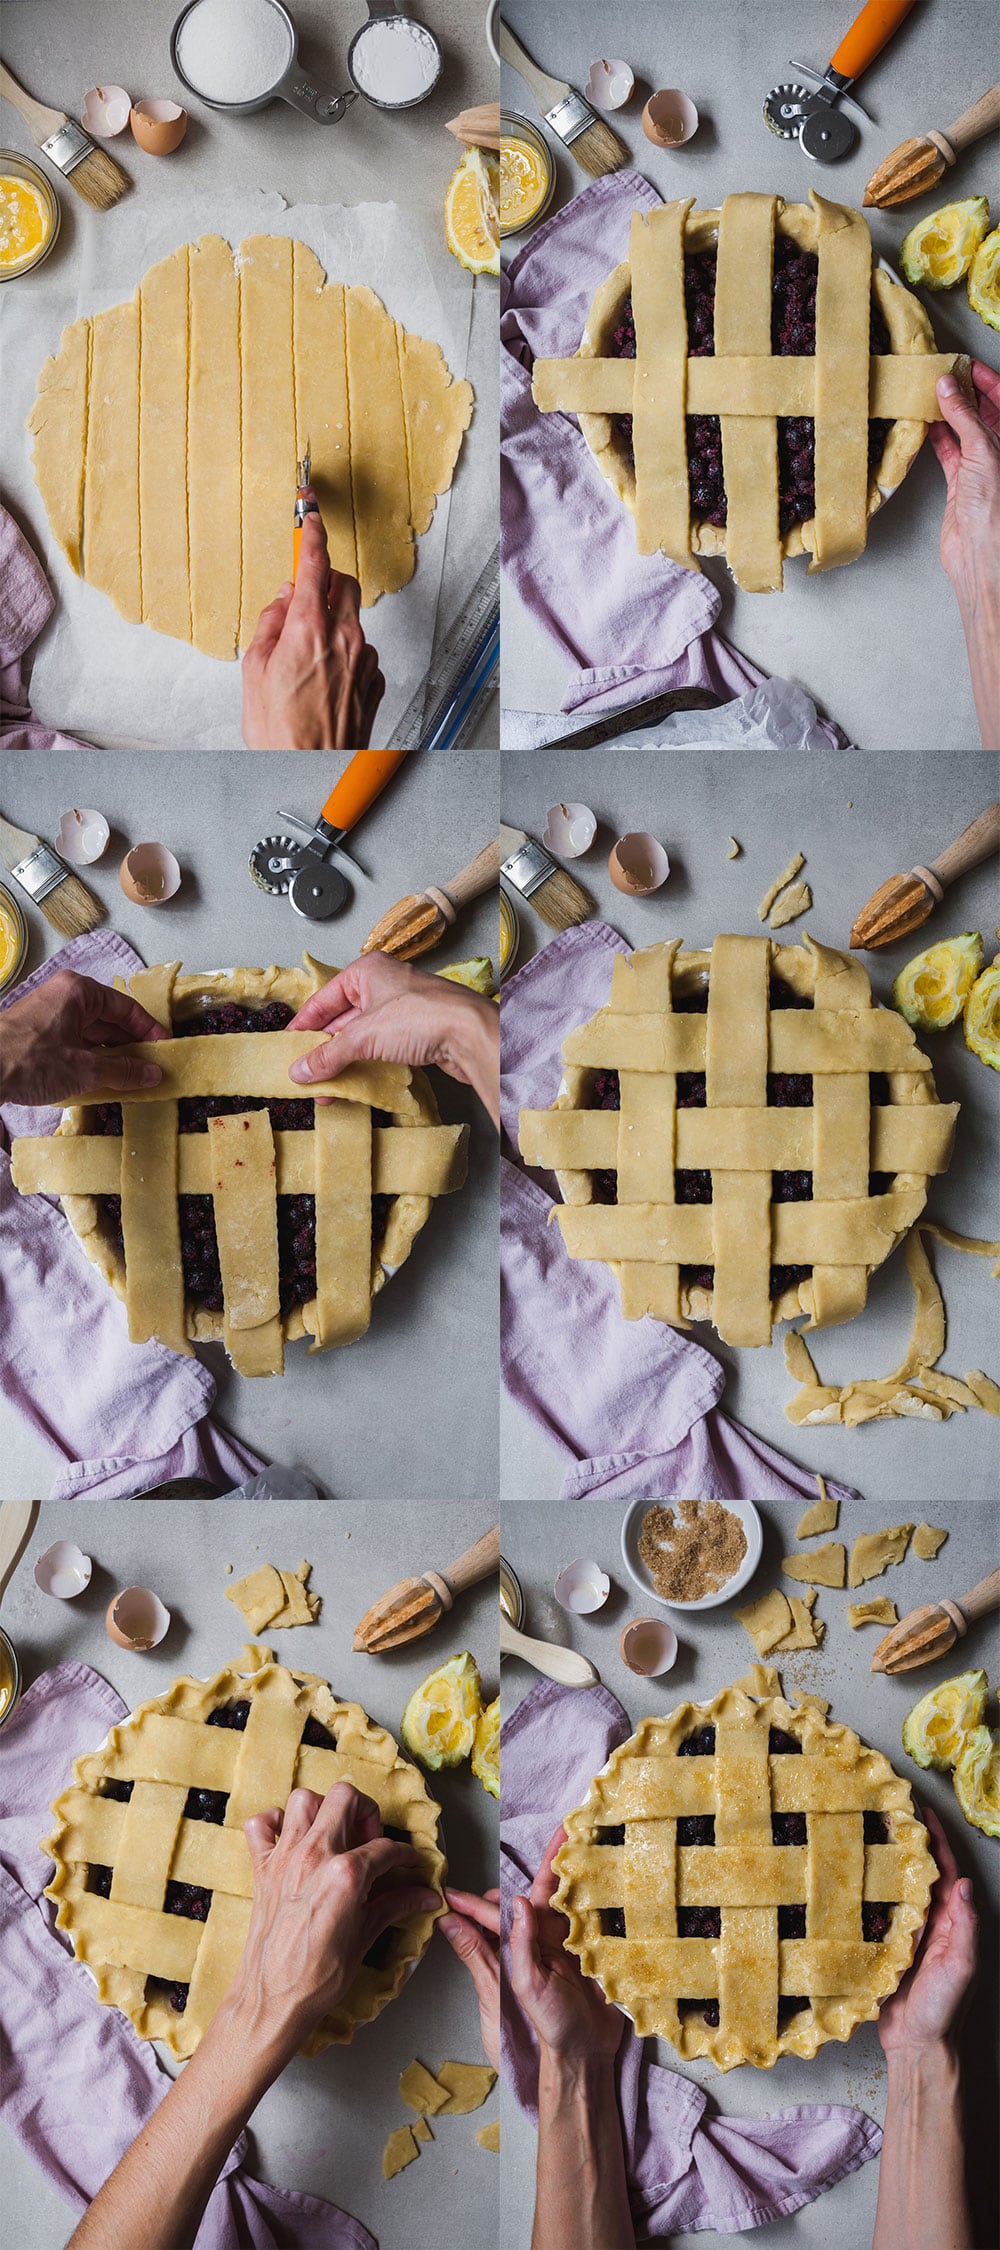
- Prepare the top lattice crust: Roll out the second pie crust to a roughly 11-inch diameter (slightly smaller than the bottom crust).
- Using a pizza cutter or sharp knife, cut the crust into even strips roughly ¾-inch wide. (It’s fine to make thinner or thicker strips if you’d like, I chose thicker and fewer strips to keep things simple)
- Lay half the strips horizontally across the pie: Lay half the strips horizontally over the pie, using the longer strips in the middle of the pie and shorter strips toward the edges. Space the strips a little apart evenly.
- Fold half the strips back on themselves: Fold every other strip back on itself.
- Lay one strip of pie crust vertically over the pie: Lay one of the remaining strips of pie crust vertically over the pie so that it lays across the unfolded horizontal strips. Snug it up against the folded strips.
- Begin latticing one side of the pie crust: Swap the folded and unfolded horizontal strips: unfold the folded horizontal strips so they lay over the vertical strip and fold the strips running under the vertical strip back over top. Lay another vertical strip of pie crust over the pie, snugging it up as closely as possible to the preceding vertical strip.
- Continue swapping the folded and unfolded horizontal strips and adding one new vertical strip each time. Continue until one half of the pie is completely latticed.
- Repeat with second half of the pie.
- If the crust starts to soften too much while you’re creating the lattice, put the whole pie and any remaining strips of dough in the fridge for about 15 minutes to chill and firm up before continuing.
- Crimp the edges: Trim the edges with a sharp knife if needed, then roll them inwards toward the center of the pie. Firmly crimp the edges to seal. Use your egg wash and prepare to bake as normal.
Recipe Notes
- I prefer to use a tempered glass pie dish that easily can go from fridge to hot stove and bake up a pie with a crisp golden crust. Or A heavy gauge steal one as pictured.
- Baking times will vary depending oven and pie dish and whether you used fresh or frozen berries.
- Use a thermometer to gauge internal temperature and baking time - definitely tent pie loosely with foil to prevent pie from burning
- Allow pie to col completely before slicing.
