Brown Butter Rice Krispies
Brown Butter Rice Krispies
Joanne Rappos
desserts
These super chewy gooey homemade irresistible Brown Butter Rice Krispies Treats are super easy to make like all Rice Krispie squares and the best no bake dessert around
brown butter treats
 rice
rice
rice
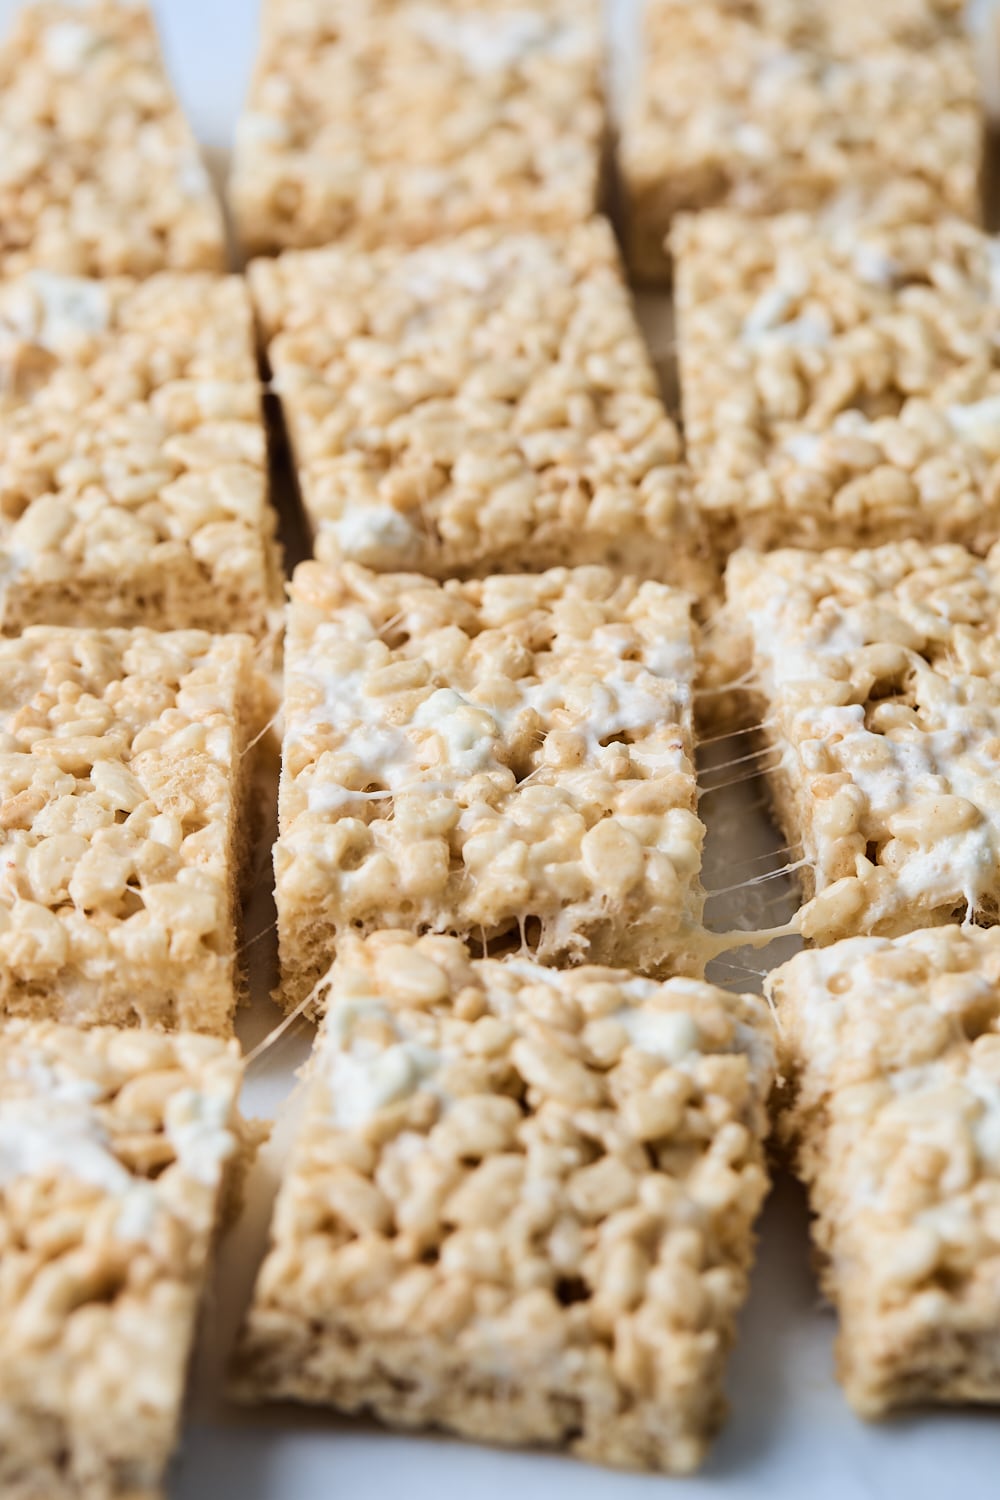
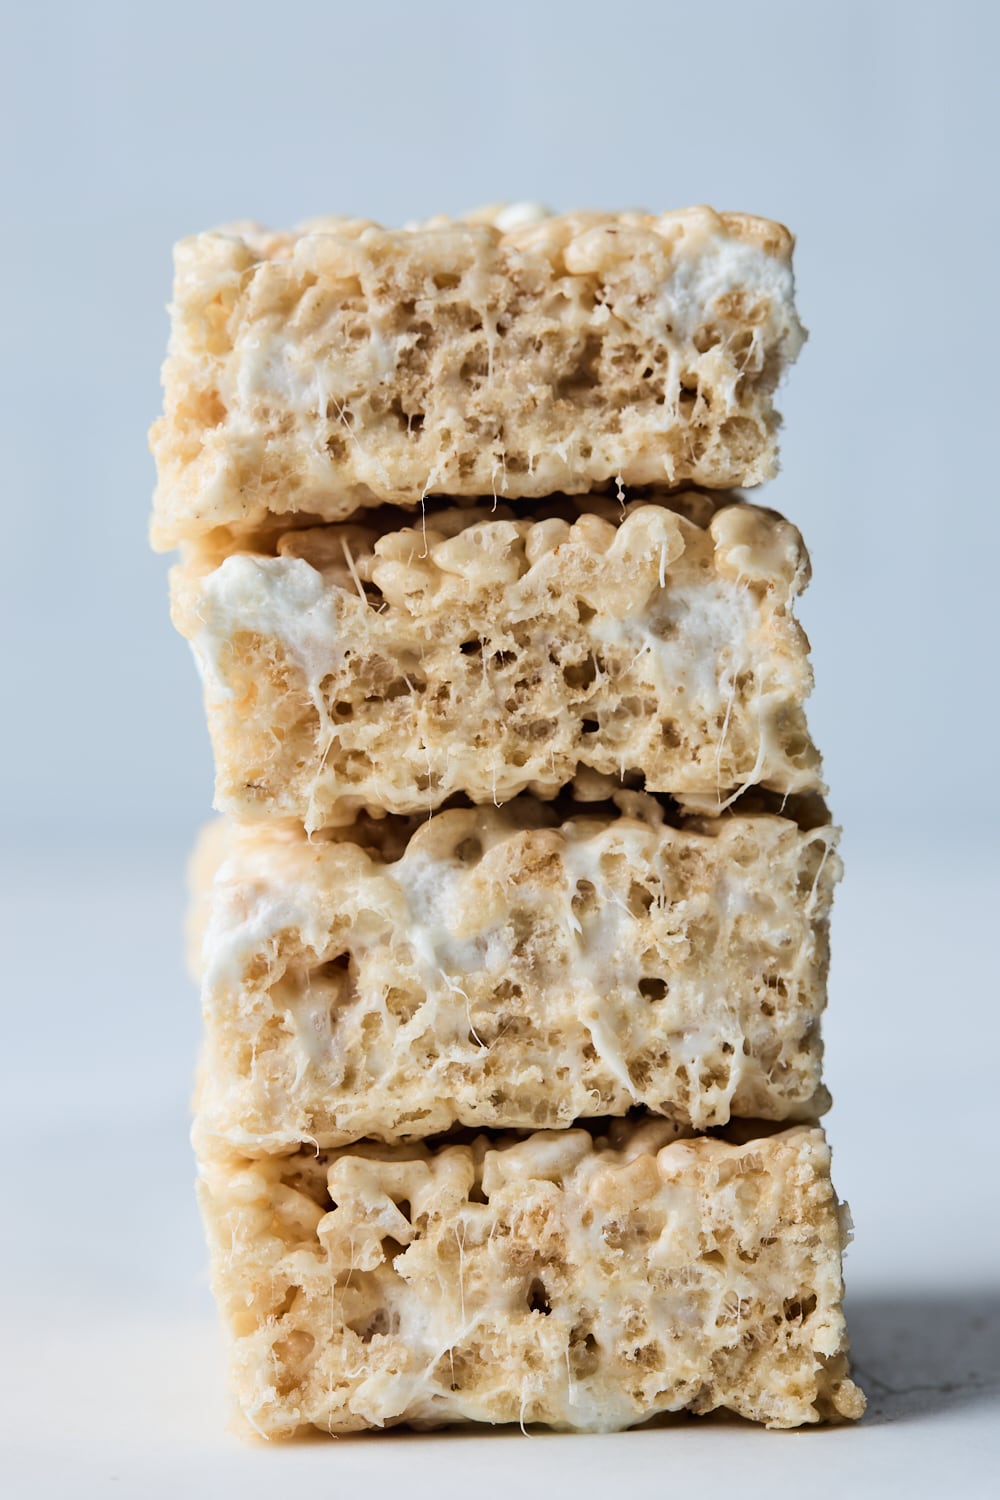
These super chewy gooey homemade irresistible Brown Butter Rice Krispies Treats are super easy to make like all Rice Krispie squares and the best no bake dessert around. This is our favorite recipe for Rice Krispies treats because we love the marshmallow ratio in them for flavor and gooeyness, plus the distinct flavor that browning the butter gives these tasty treats. From kids to kids at heart they are loved and devoured by all. There are lots of versions out there with chocolate chips, butterscotch, maple - you name it and we love them all but these stand alone when it comes to the classic version of these ooey gooey treats!
Brown Butter Rice Krispies Ingredients
- BUTTER: I use unsalted butter and I like to brown the butter - of course this is optional but I recommend it as it doesn’t really take much extra time or effort over simply melting the butter. (Skip browning the butter if you are using the microwave method detailed below)
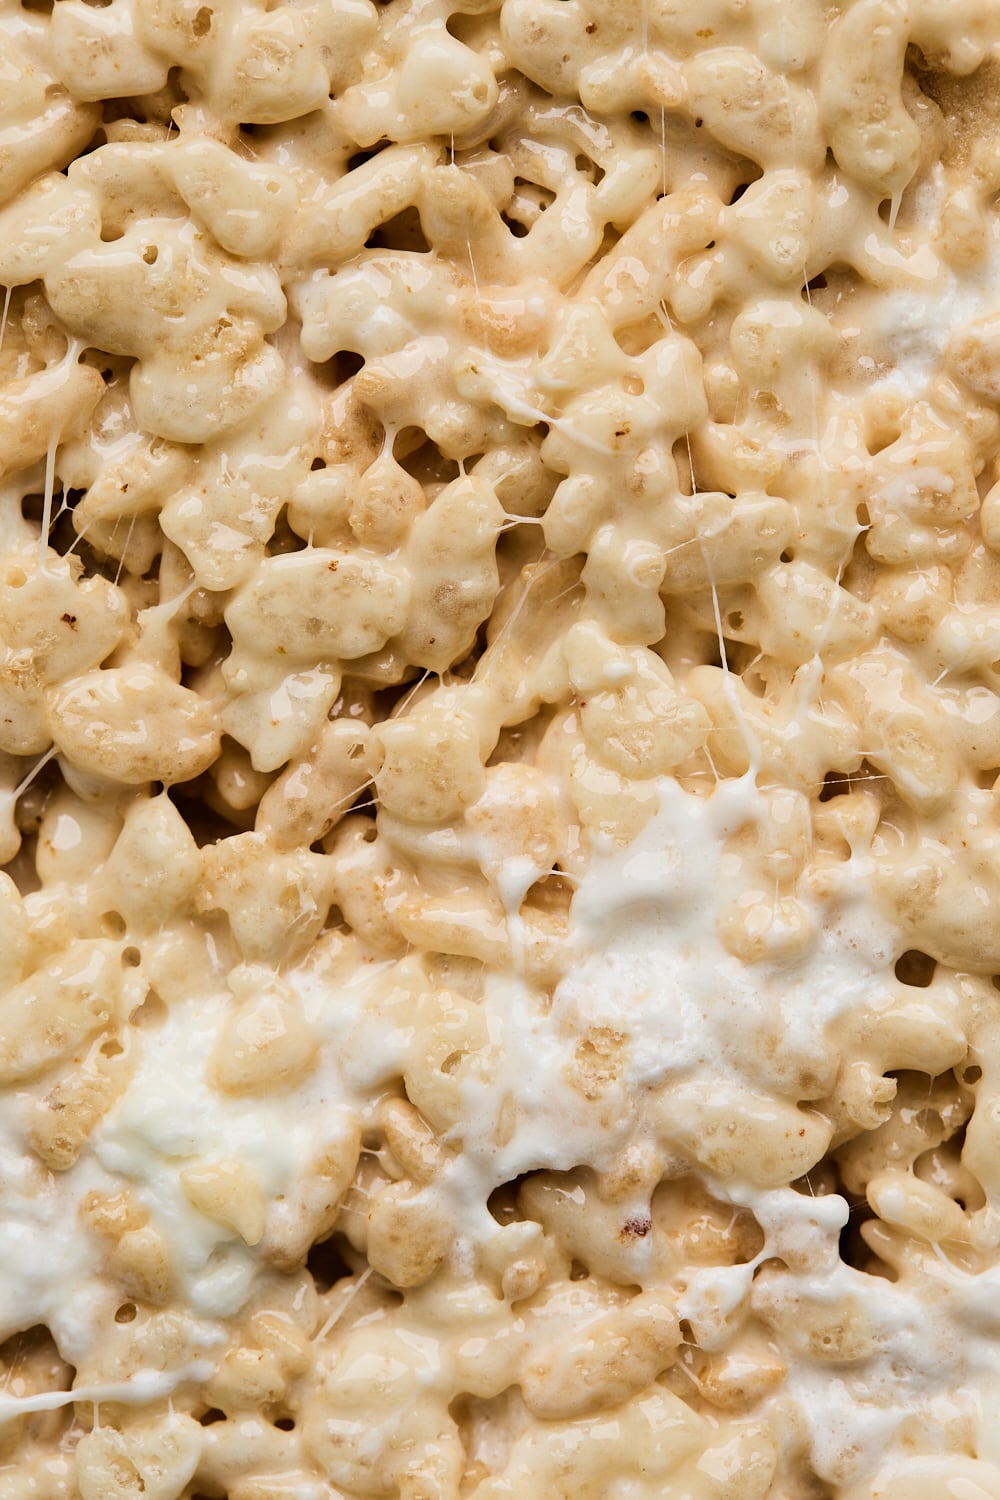
- MARSHMALLOWS: I prefer to use mini marshmallows especially because I’m stirring some in after so that there are some pockets of marshmallows in the bars and the minis work well for this. Use fresh marshmallows (not stale ones that may have been sitting in your pantry for months) for best flavor and texture.
- RICE KRISPIES: Feel free to use the Kellogg’s brand or any brand of crispy rice. Ensure it’s fresh and has a nice crunch to it for best flavor and texture to your bars. You don’t want to use stale cereal. Feel free to use gluten-free ones if you want a GF treat.
- SALT: Adds flavor and balances sweetness.
- VANILLA EXTRACT: Adds its signature flavor to all sweet treats. I have seen many add a little dash of almond extract too but I stick to just vanilla for this classic version of these.

How To Make Brown Butter Rice Crispy Treats (detailed instructions below)
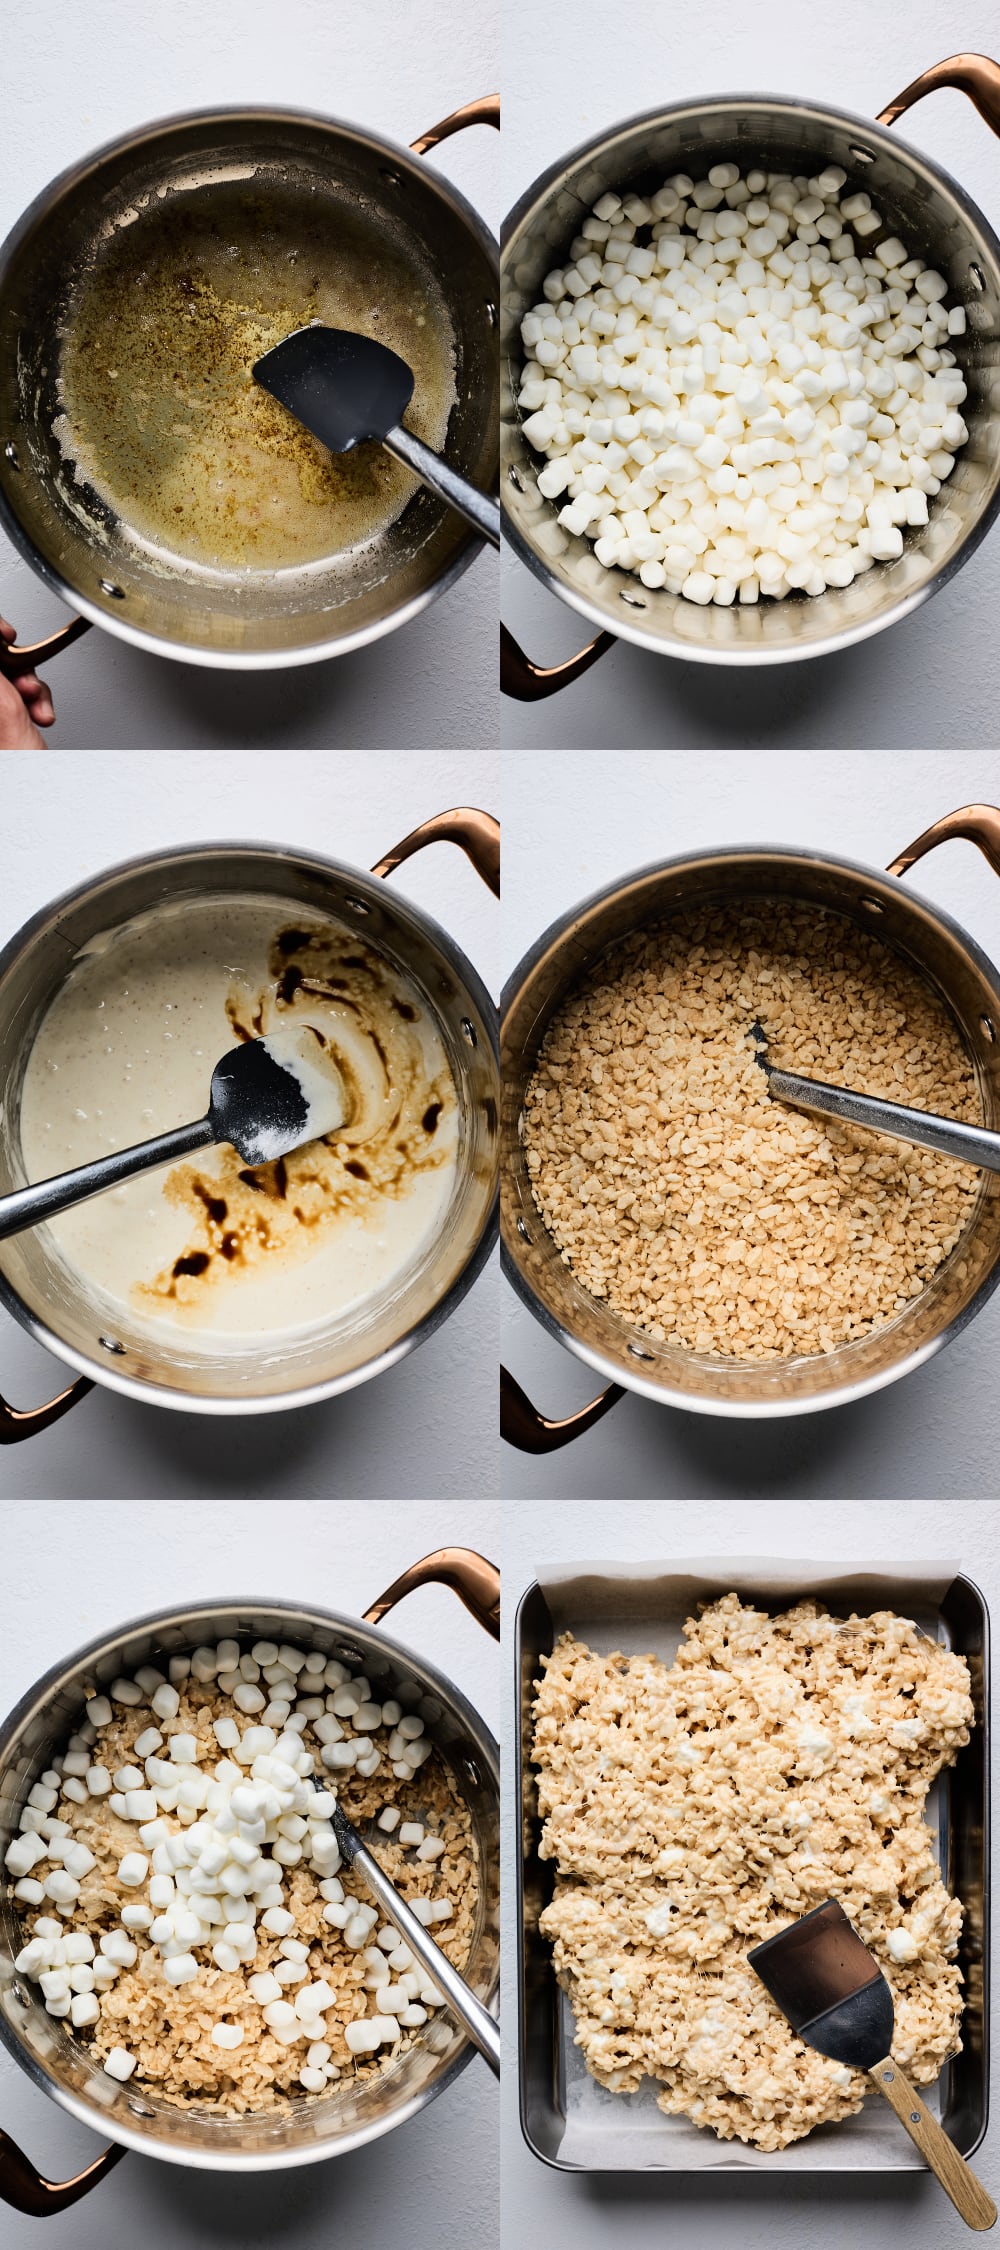
- BROWN BUTTER: This is optional but a simple way to add so much delicious flavor to the Rice Krispies treats. It adds a rich, nutty, and caramel-like flavor. Simply melt butter and continue to heat it gently until it starts to lightly brown and smell nutty and delicious. Do not burn.
- MELT MARSHAMALLOWS: Stir in marshmallows and continue to heat until melted - you don’t want them to bubble or foam that is why we keep the temperature at medium heat the whole time. If your elements run hot reduce heat to medium-low heat if needed.
- STIR IN RICE KRISPIES: Stir in the Rice Krispies working quickly.
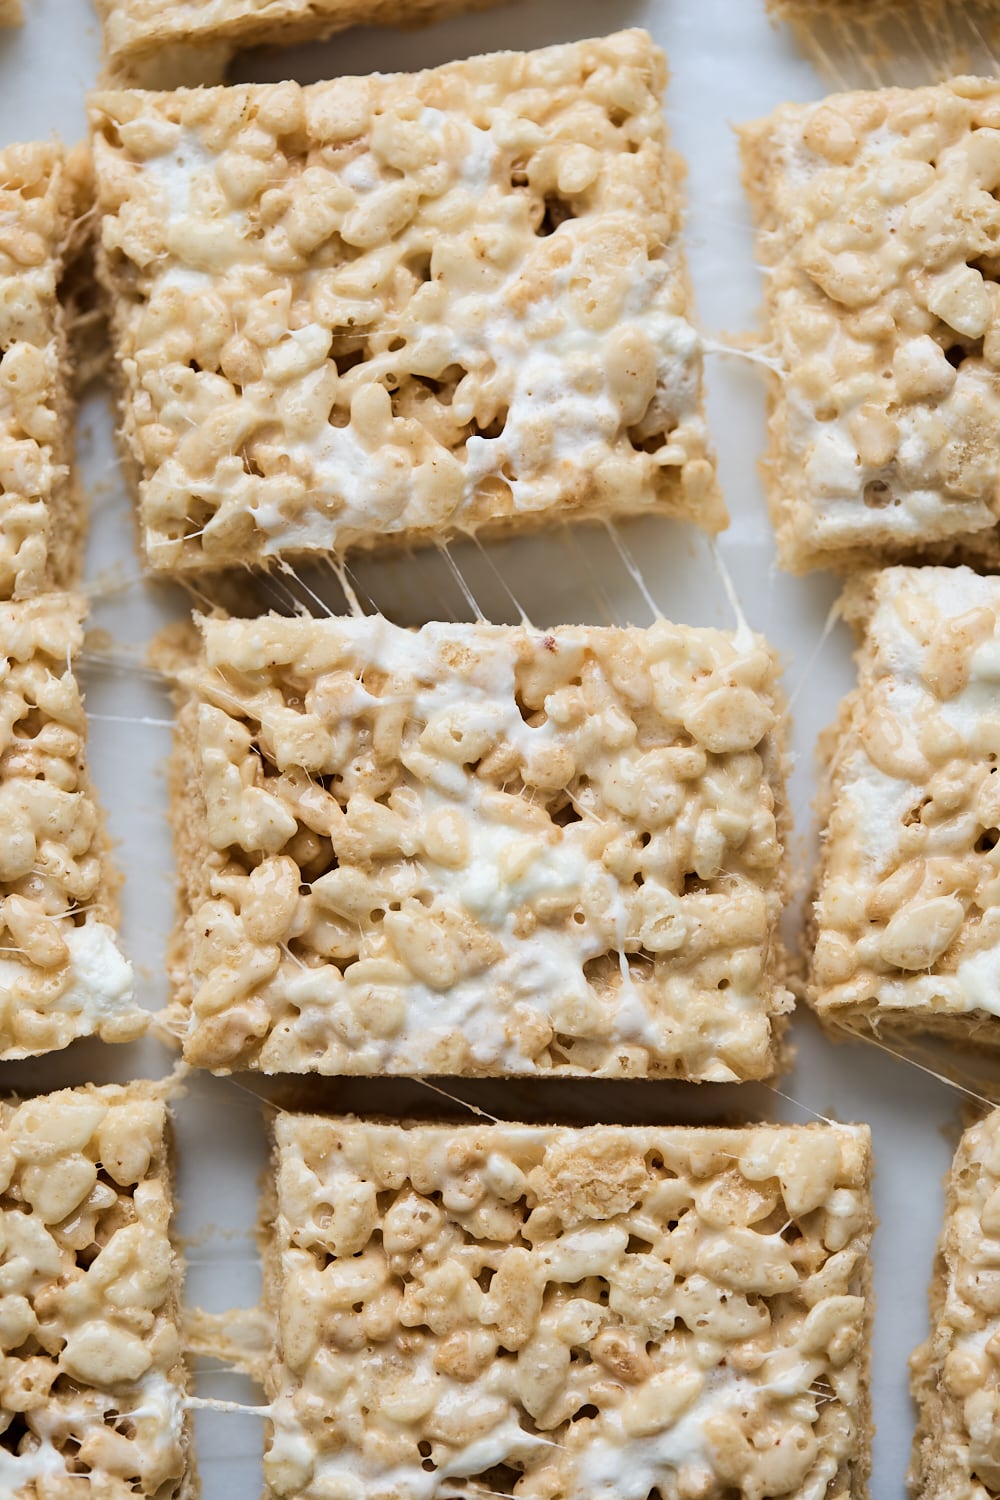
- FOLD IN EXTRA MARSHAMLLOWS: Fold the remaining marshmallows in so that you have a scattering of little marshmallow bites throughout the treats.
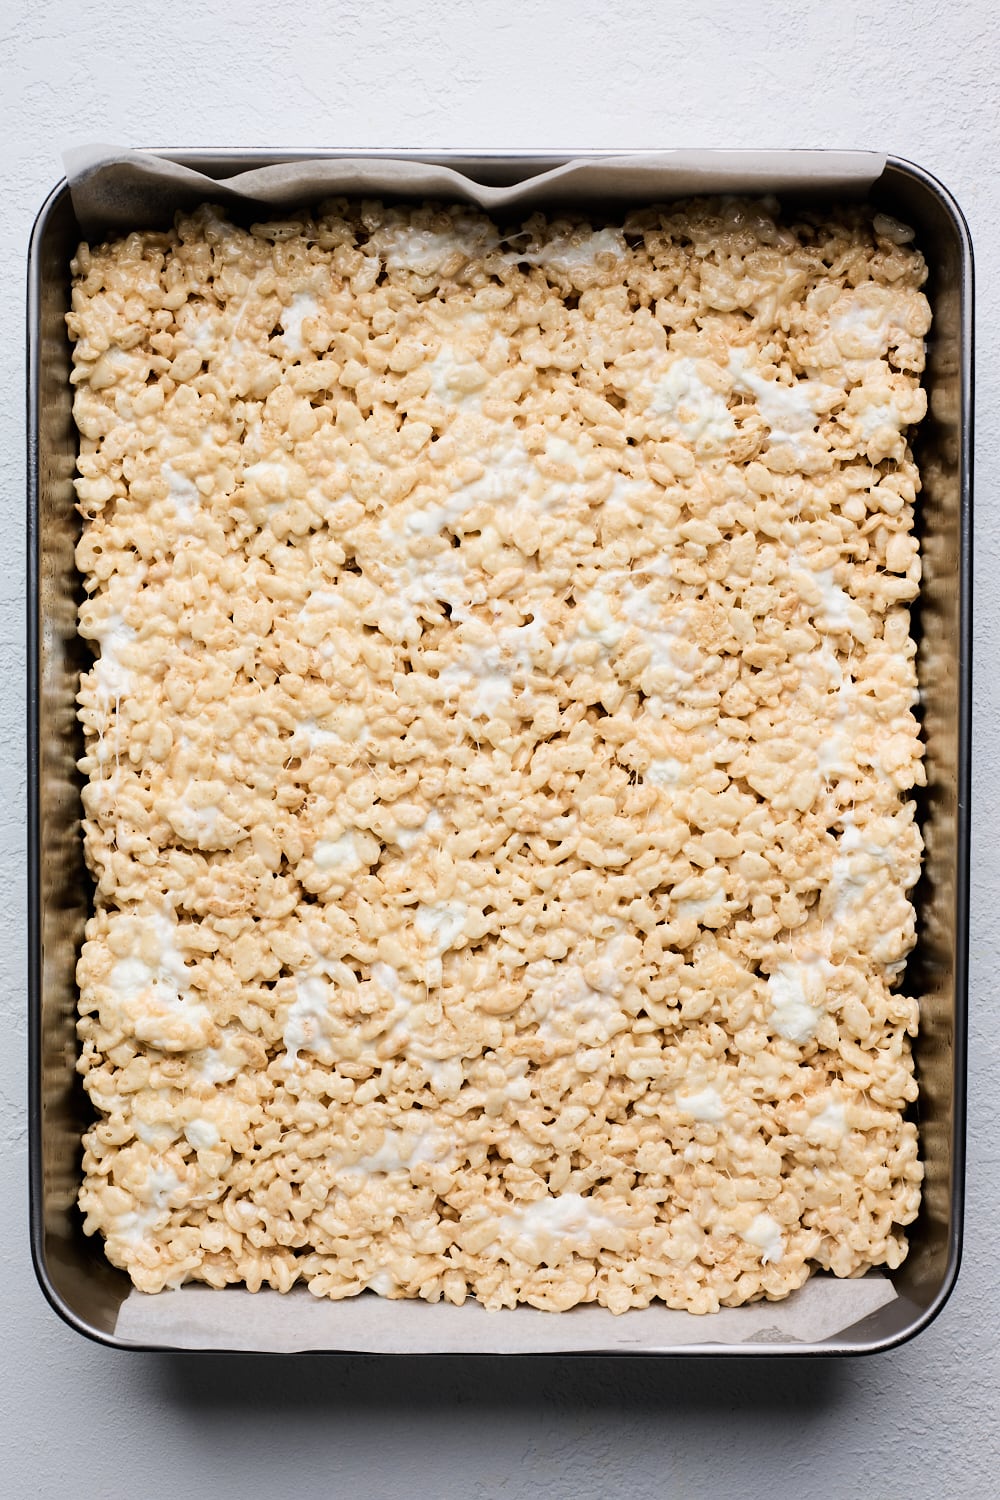
- PRESS INTO PAN: Transfer Rice Krispie and marshmallow mixture into prepared pan and GENTLY press them evenly into pan - not too hard as they will set hard and less chewy.
- SLICE & ENJOY: Wait for them to cool then slice and enjoy!
Rice Krispie Treats Tips
- Line your pan with parchment paper or wax paper for easy removal of the Rice Krispies from the pan.
- Have all your ingredients ready, measured out and next to you because this recipe moves very quickly especially after the marshmallows are heated through.
- Spray your spatulas with non stick cooking spray to help with all the stickiness and mess. Spray a new rubber spatula with nonstick spray if the other one gets too coated. You can use wet hands but you may run a risk of wetting some uncoated Rice Krispies.
- Work quickly! As the marshmallow cools down, it makes it harder to stir and combine everything evenly.
- Do not press too hard on the Rice Krispies while settling them into the pan as this can make them hard and less chewy.
- Do not boil the marshmallows or heat too high and have them bubbling. Just heat until they are melted - this will help you combine the rice Kripsies better. Heating the marshmallows too high might result in a Rice Kripsy treats that are harder and crunchier than chewy.
Recipe
Yield: One 13x9 pan (as shown or for thicker pieces use an 8x8/9x9 pan)
Servings: 9-18
Prep Time: 10 mins
Cook Time: 10 mins
Total Time: 20 mins
Non-Active Time: 1 hour for cooling
Ingredients
- 6 Tablespoons Unsalted Butter
- 10 Cups Mini Marshmallows, divided (2 x 250 gram bags or 16-18 ounces)
- 1 teaspoon Vanilla Extract
- ½ teaspoon Sea Salt
- 6 Cups Rice Krispies Cereal (1 cup of crispy rice is approx 1 ounce, so you need 6 ounces or approx 170 grams)
Directions
- Prepare a 9x13 inch pan with nonstick spray, or line with parchment paper for easy removal of bars, set aside. (Use a square 8x8 or 9x9 pan for thicker pieces)
- In a large pot melt butter over medium heat, allowing it to simmer gently until golden brown and nutty smelling. Tilt the pan or use a spatula to spread the butter up the sides of the pot a little bit.
- Add 8 cups of fresh mini marshmallow to pot over medium heat. Use a rubber spatula (I like to spray the spatula with nonstick spray) and stir marshmallows until melted - do not boil.
- When the marshmallows are completely melted and there are no lumps, remove from heat and stir in salt and vanilla.
- Add 6 cups of Rice Krispies to the marshmallow mixture. Use the rubber spatula to stir it all together until everything is just about coated with melted marshmallow. Then quickly stir or fold in the remaining 2 cups of Marshmallows
- Empty the rice krispies into the prepared pan. Get your hands wet, or spray an offset spatula with nonstick cooking spray and gently press rice krispies into the pan. Avoid pressing too hard as this will make your bars hard to bite into.
- Allow the rice krispie treats to cool at room temperature for about 1 hour, or less for ultra gooey bars. Sprinkle with a little flaky sea salt if you wish.
- Lift the parchment paper from the pan. Use a knife to cut the rice krispies into squares and enjoy.
Recipe Notes
- You can easily make this amount of rice krispie treats in a square 8x8 or 9x9 inch pan without adjusting the recipe. They will just be double the thickness if you are looking for thicker squares. You can easily double the amount for thicker pieces in a 13x9 pan too.
- Store any leftovers tightly sealed in an airtight container at room temperature. I don’t recommned making these ahead and freezing. The texture is just not the same frozen and thawed. They are so easy to whip up so makeing them too far in advance is probably not that necessary. They are best eaten fresh
- They do not need to be refrigerated. They will last on the counter between 3-5 days before drying out.
- You can make rice crispy treats in the microwave. Add the butter and all the marshmallows to a large bowl, and microwave in 30 second intervals, stirring each time. When the mixture is completely smooth and there are no lumps, continue with the recipe by adding in the vanilla, and salt, then the rice krispies and remaining marshmallows. (if you are melting the butter with the marshmallows in the microwave you can skip browning the butter)