Chocolate Brownie Mousse Cake
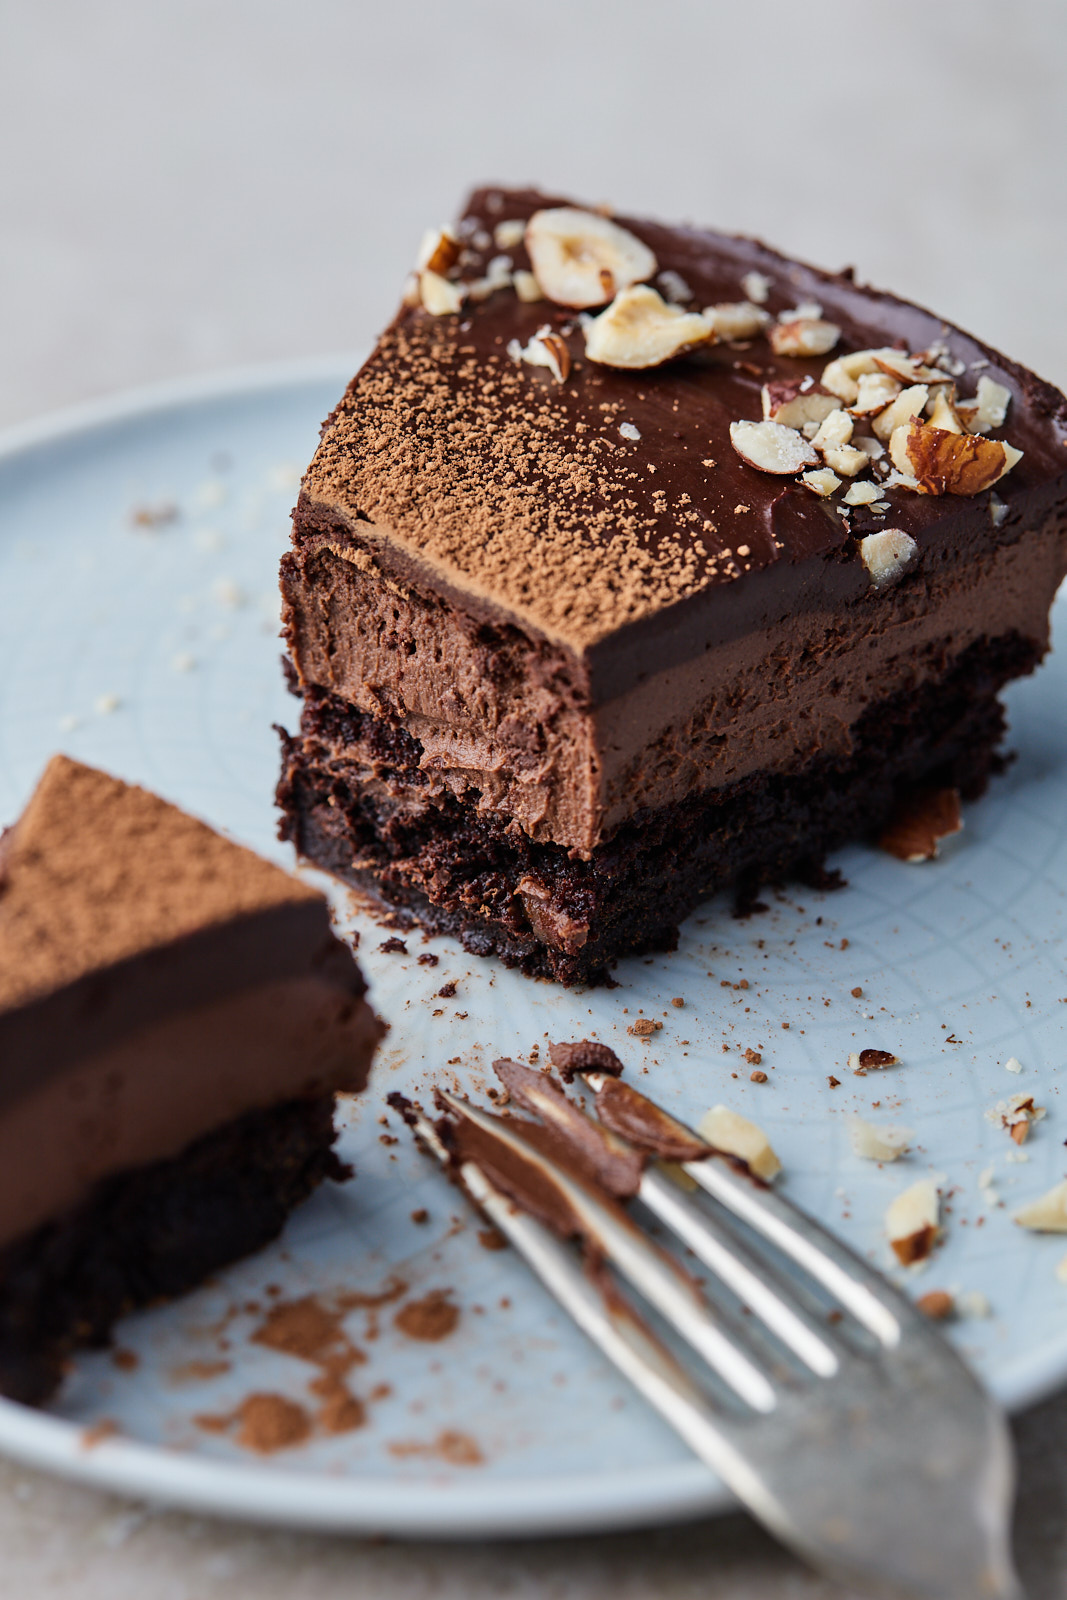
This chocolate brownie mousse cake is made up of three delicious layers and they all include chocolate. Triple the chocolate- triple the deliciousness. A fudgy brownie layer on the bottom with a rich and creamy mousse layer over it, followed by a smooth ganache. All plant based and also made quickly and easily in a food processor or blender. I love a cake that I can just dump the ingredients in a blender and pour it in a pan and tada, it’s all up to the oven or the fridge for the rest like my food processor flourless cake. This is one of those recipes and one that whether you are plant based or not, will thoroughly enjoy!

The brownie layer on this cake is quite delicious - it’s so dense, and has that perfect chew factor every brownie should have. Im not knew to sharing cakes sweetened naturally whether it’s with dates or figs like my chocolate fig skillet brownie. It works and it’s a delicious way to sweeten baked good and when processed like this they create a delicious part of the batter and also give this plant based mousse the perfect texture. I made the brownie layer in my food processor as I found my blender tends to need more liquid in it to blend things smooth. Feel free to use your blender if it can handle the dates and nut butter. Once that part of the batter is blended it’s then mixed with the dry ingredients making a thick but spreadable batter. Once baked and cooled it’s topped with that magnificent mousse.

Let’s talk mousse. It’s one of my favorite desserts of all time. I love the richness of it and it’s smoothness and at the same time how light and frothy it can taste. One of my favorite mousses on the blog is a chocolate vegan mousse - one that turns out perfect every time. This one is similar but uses no cocoa butter or milk in it making it even easier to make. The common addition to both is the dates. They add the sweetness and a really nice texture to this mousse. This mousse recipe is portioned for this mousse cake. Feel free to make it to enjoy on its own too just make sure to allow it to set fully before enjoying. It can be poured into approximately 4 ramekins if you want to make single serve portions of it. If you want your mousse to cake ratio to be even more extreme, you could double the mousse portion and have an even thicker layer of mousse to each bite.

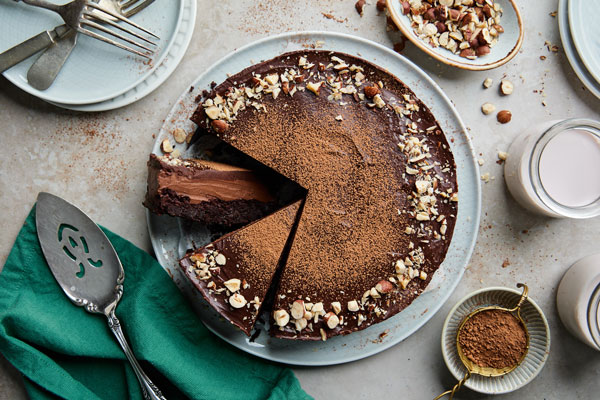
The glaze is optional but I love the way it finishes off the cake. It’s a great stand alone vegan glaze or ganache recipe that you can use to glaze your doughnuts or brownies or enjoy by the spoonful. It’s the perfect topper but make sure to allow the mousse to set fully before spreading this on and also allow time for it to set before slicing into the cake too. I made this cake with hazelnut butter and with hazelnut milk and creamer so I decided to add some chopped hazelnut to the top of the cake. You can make this with any nut butter or seed butter and top it the way you like. I like to make the mousse first if I’m making the cake the same day so it sets while I make the cake and while the cake cools. It can be made the day before though too if you wanted to split up the steps. It will be more set the day after but you can just use a fork to stir it up and loosen it up enough to spread it over the brownie base. In fact the brownie base can also be made a head as it gets even chewier when refrigerated. Just cool cover and refrigerate until you are ready to add the mousse layer.

This is the ultimate plant based cake and Its actually quite no fuss and simple to make especially when compared with other regular mousses. I made this cake in partnership with Elmhurst 1925 and their nut milk and creamer which have no fillers, or thickeners and they also pack more nuts, seeds or grains in a glass than other brands making them more nutrient dense & smell and taste even nuttier & better. They are the best addition to my oats, coffee, smoothie, tea and in my baked goods - being that they are filler free and unsweetened makes them perfect for baking - giving you consistent results. We couldn’t get enough of this cake and I think you might feel the same way about it. Hope you enjoy!

I have partnered up with Elmhurst to bring you this fabulous recipe, but all opinions are my own. Thank you for supporting Olive & Mango.
Recipe
Ingredients
For the Brownie Cake
- 1 cup medjool dates, pitted and chopped
- ½ cup non dairy milk - I use Elmhurst 1925 Unsweetened Hazelnut Milk
- ½ cup hazelnut butter (or any nut/seed butter)
- 1 tsp vanilla extract
- ½ cup unsweetened cocoa powder
- ¼ tsp espresso powder (optional)
- ½ tsp baking soda
- ¼ tsp salt
For the mousse
- 6 oz unsweetened chocolate
- 1 3/4 cups non dairy milk - I used Elmhurst 1925 Hazelnut Oat creamer
- 1 cup (about 12) Medjool dates pitted and chopped
- ½ tsp vanilla extract
- ¼ tsp espresso powder (optional)
For the glaze
- ½ cup unsweetened cocoa powder
- 1/3 cup water
- 2-3 tbsp of maple syrup
- 3 tablespoons virgin coconut oil
- 2 ounces/50 grams dark chocolate chopped
- 1 teaspoon pure vanilla extract
- ¼ tsp espresso powder (optional)
Directions
For the mousse
- Roughly chop the chocolate into small chunks. Melt in the microwave at 20 second intervals or using a double boiler.
- In a blender, combine the nut milk and dates. Blend on high until smooth.
- Add the melted chocolate, espresso powder and blend again until smooth and combined.
- Pour into medium bowl and refrigerate until thick but not fully set (about 1-2 hours) *
For the cake
- Preheat the oven to 350ºF.
- Blend the medjool dates, nondairy milk, almond butter, and vanilla. (You can also use a food processor for the cake)
- Transfer to a bowl. Add the cacao powder, espresso powder, baking soda, and salt. Stir well to combine. Batter will be white thick.
- Transfer to a springform pan 8 inches. Spread evenly. Bake for 20-22 minutes. Cool completely.
- Spoon and spread the mousse over cooled brownie cake and refrigerate until the mousse sets up again approx 1 hour
- Combine all the ganache ingredients into a small pot over low heat and continue to stir until smooth and creamy. Pour over set mousse and smooth as needed. Refrigerate again until fully set.
- Slice and serve chilled. Keep leftovers covered in the fridge for up to 7 days if it lasts that long
Recipe notes
- This is a great mousse recipe. To make and enjoy the mousse portion alone make sure to allow it to set completely approx 3-4 hours. It can also be split up into individual portions in ramekins - it will set faster in smaller portions.
- If you use a larger than 8 inch pan the brownie layer will be slightly thinner and will bake faster so keep an eye on it while baking.
- The dried dates I used were fresh and soft and didn’t need any soaking to soften them up. If yours have been in your pantry a while and have hardened they may just need to be rehydrated. Soak them in warm/hot water for a few minutes before chopping - draining the excess water ofcourse before doing so
Adapted from Feasting on Fruit

